Unity Hub allows you to manage different Unity installations. After downloading it, follow the instructions on screen to set up Unity Hub on your machine.
Sign in or create new account
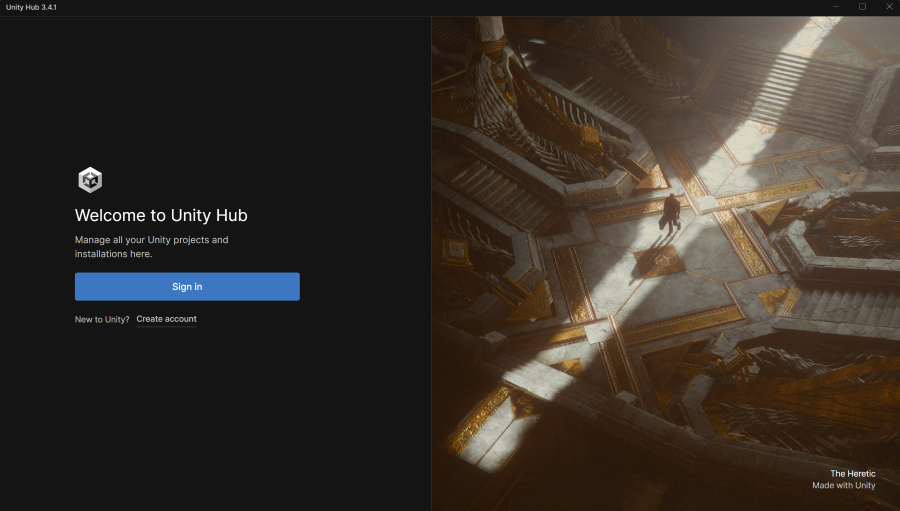
After Unity Hub installation has finished, open Unity Hub if it's not already running. Select the Sign in button.
A browser window opens.
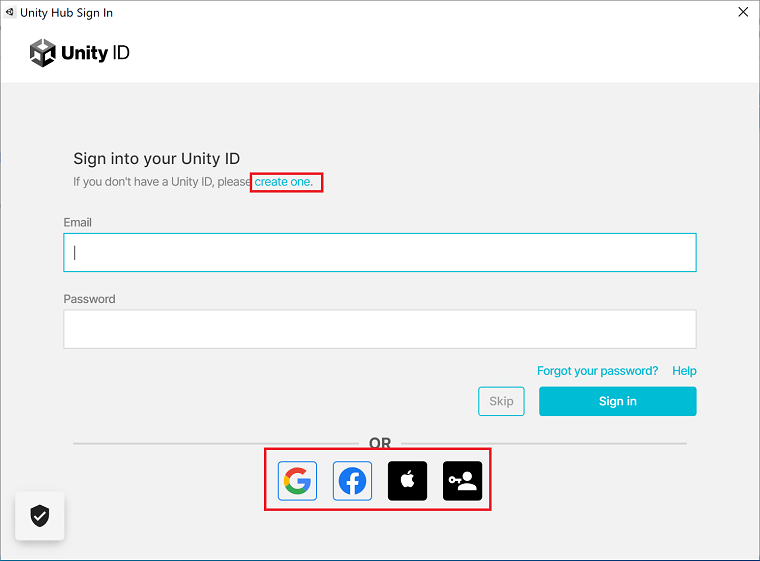
Sign in to your Unity account or click on the create one link to create a new account. You can also use one of the social login options.
Once you successfully logged in, the browser will ask your permission to open Unity Hub. Select thr Open button.
Install Unity Editor
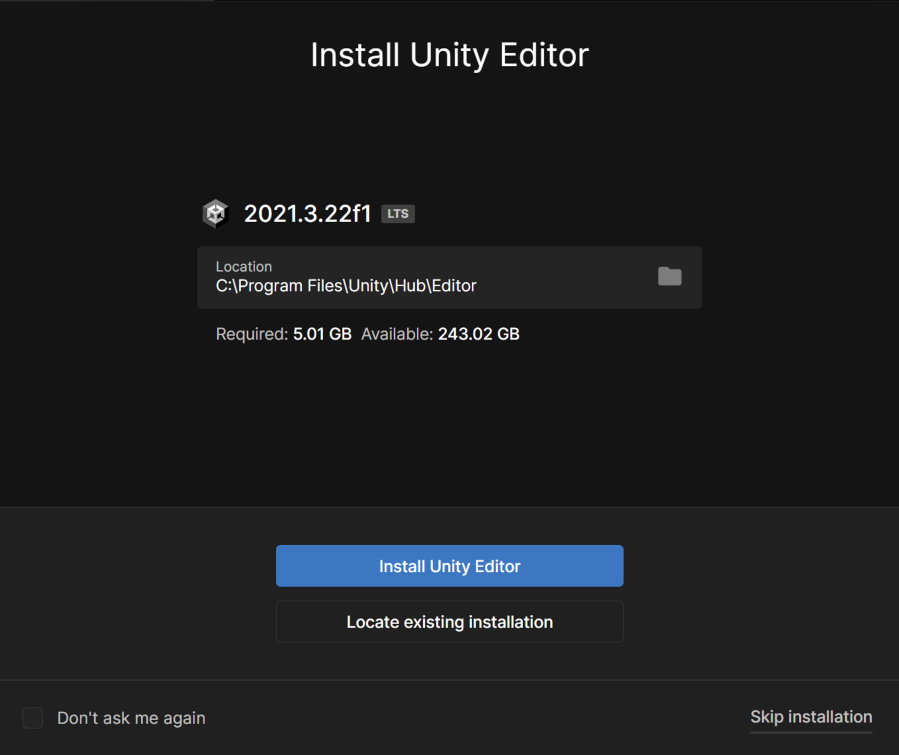
Click Install Unity Editor. This will install the latest long-term support (LTS) version of Unity. The LTS versions are the most stable, and they get updates and support for a longer time.
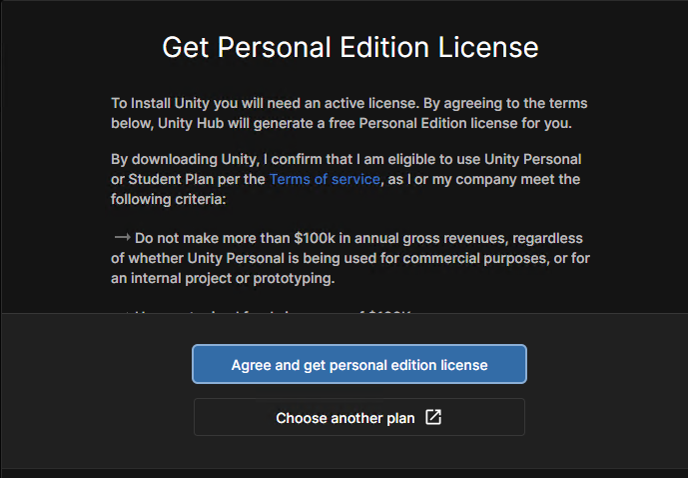
Select Agree and get personal edition license. Make sure you edit the license later if you start using Unity professionally to be compliant with the license agreement.
Click Install Unity Editor. This will also install the latest long-term support (LTS) version of Unity. The LTS versions are the most stable, and they get updates and support for a longer time.
Select Agree and get personal edition license. Make sure you edit the license later if you start using Unity professionally to be compliant with the license agreement.
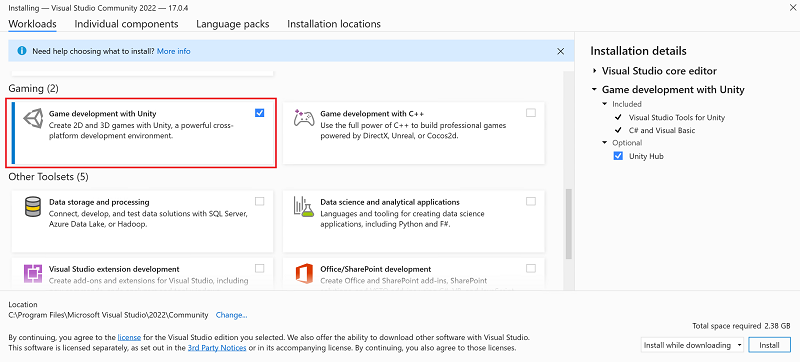
During installation, the Game development with Unity workload should be selected. Using the link above should preselect all the prerequisites correctly, as shown on the following image:
Already have Visual Studio installed?
This tutorial is optimized for the latest version of Visual Studio. If you already had Visual Studio 2022 installed when setting up Unity Hub, you need the Game development with Unity workload installed.
To add that workload to Visual Studio:
Find the Visual Studio Installer on your computer.
In the Windows Start menu, search for "installer", and then select Visual Studio Installer from the results.
If prompted, allow the installer to update itself.
Find your Visual Studio 2022 installation and select Modify.
Select Game Development with Unity and then select the Modify button.
We highly recommend you watch this video to get a bit familiar with the Unity user interface while you wait for the installation to complete.
Create a Unity project
To begin, let's create a 3D Unity project:
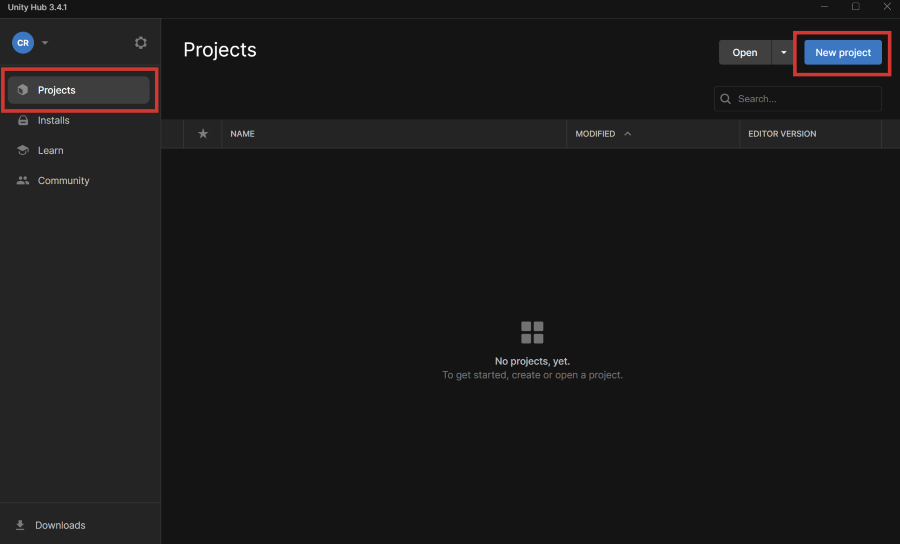
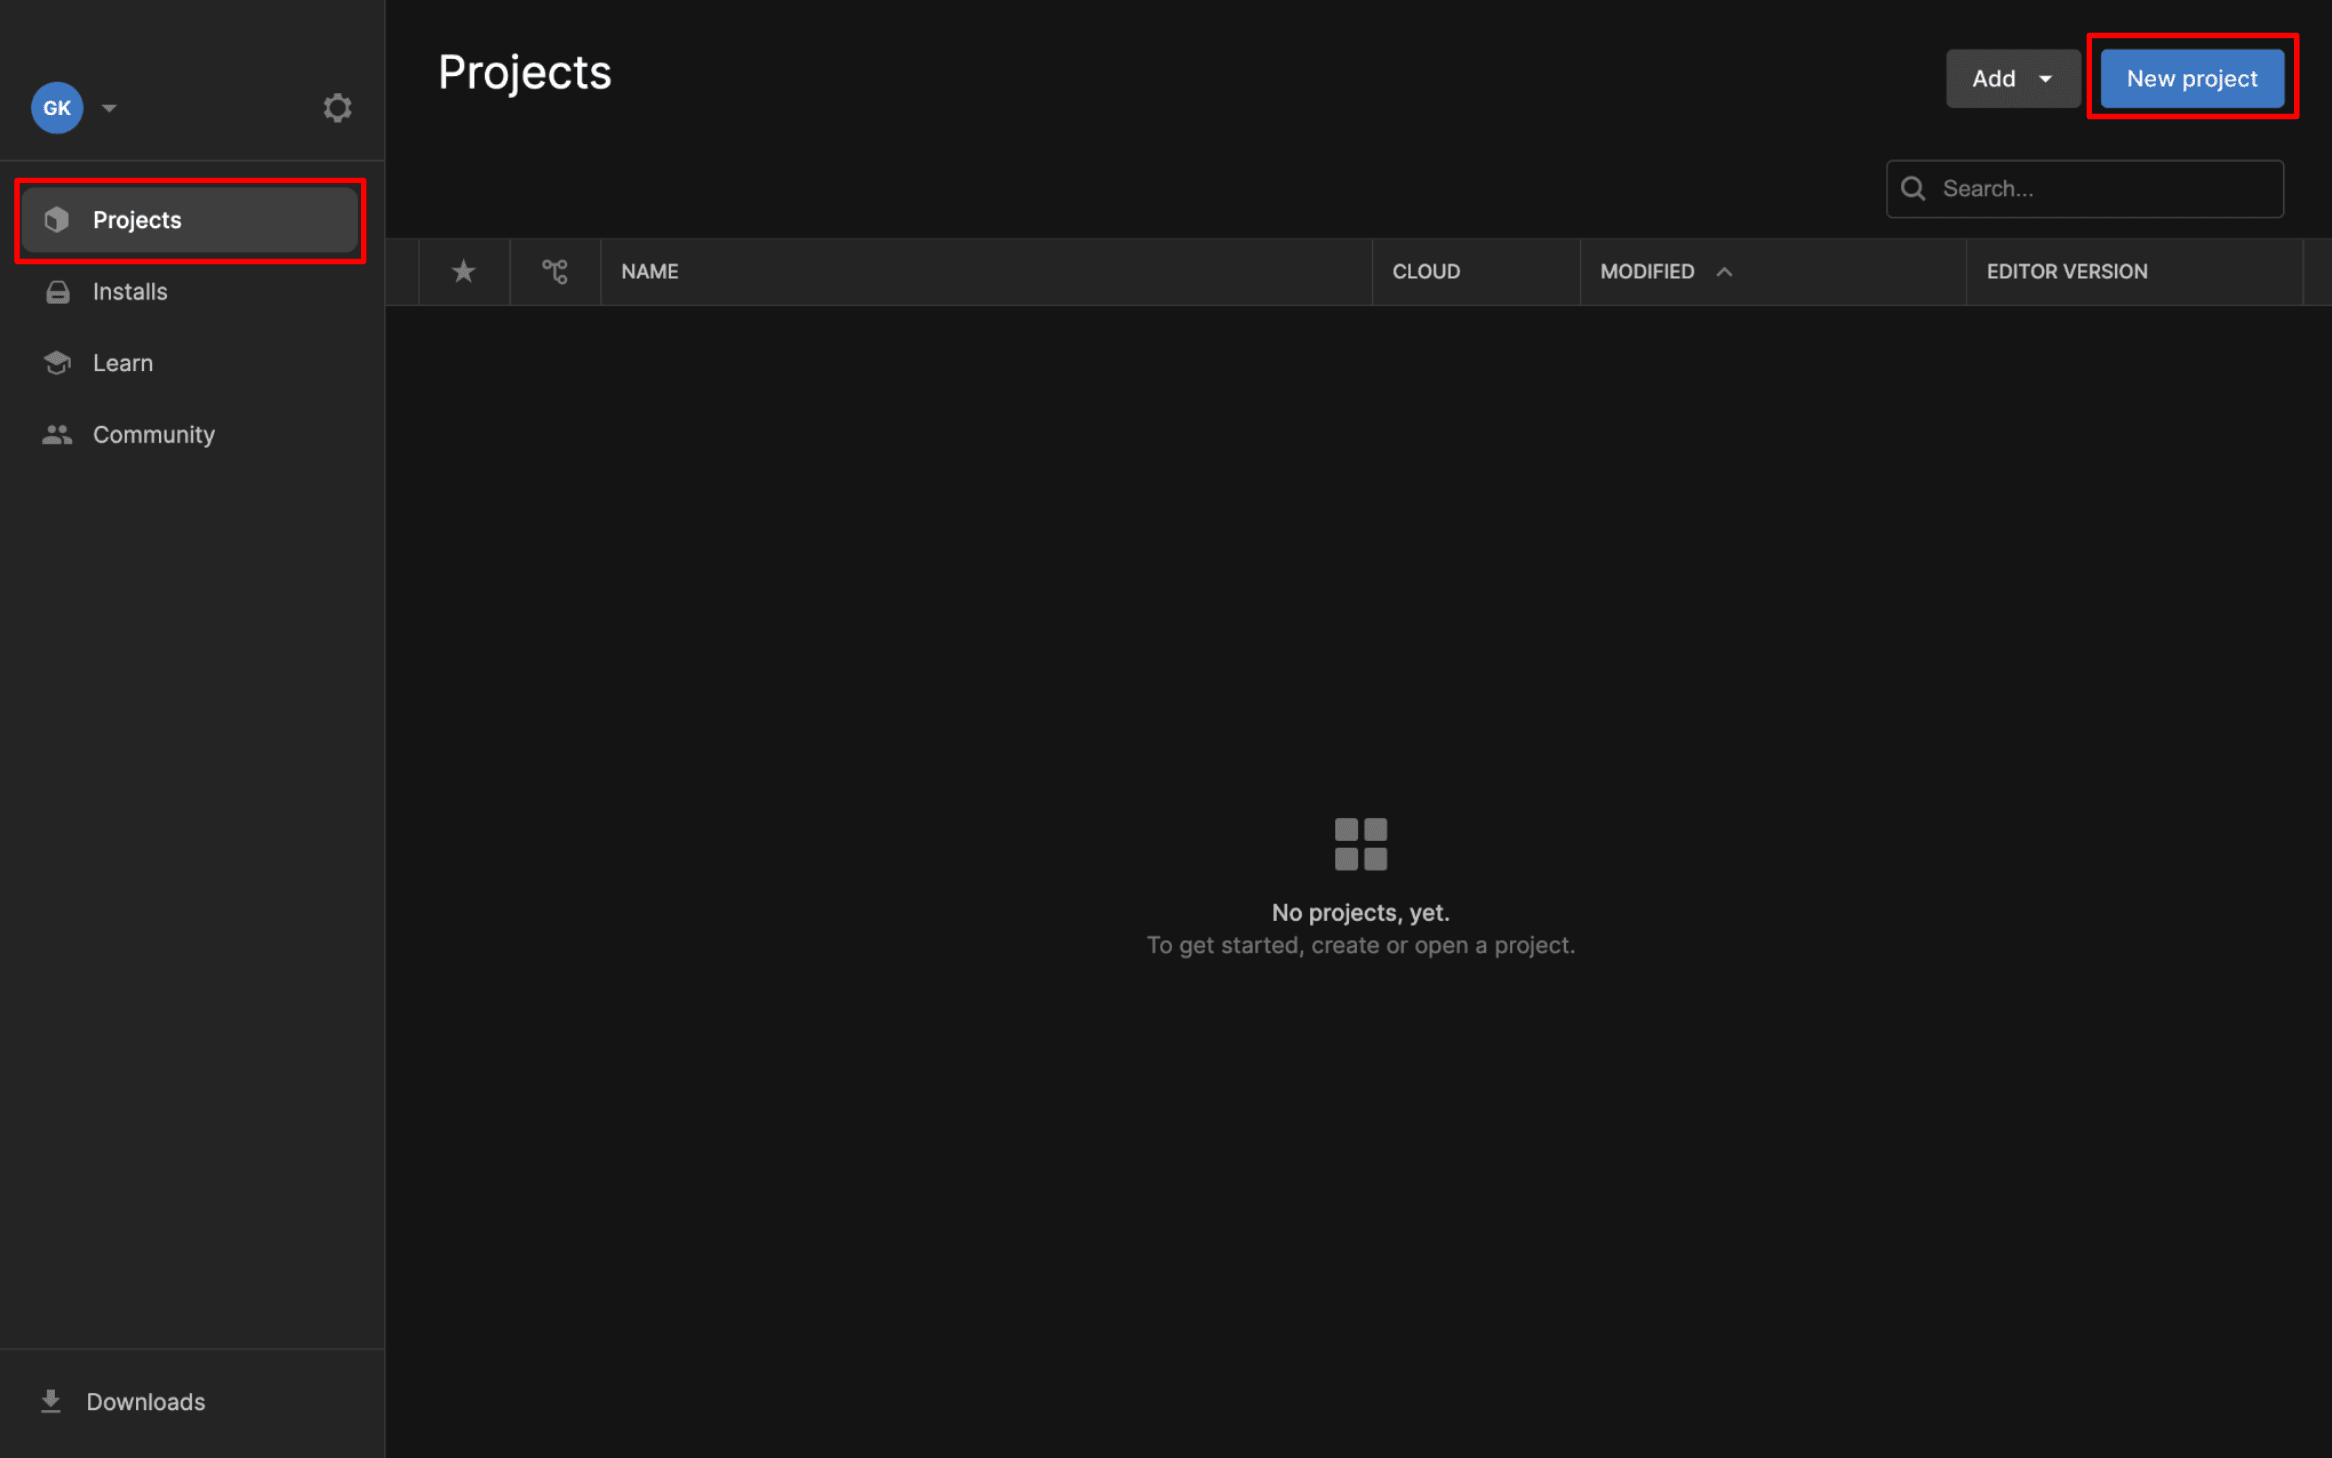
On Unity Hub, select Projects from the left menu.
Select the New project button on the top-right corner.
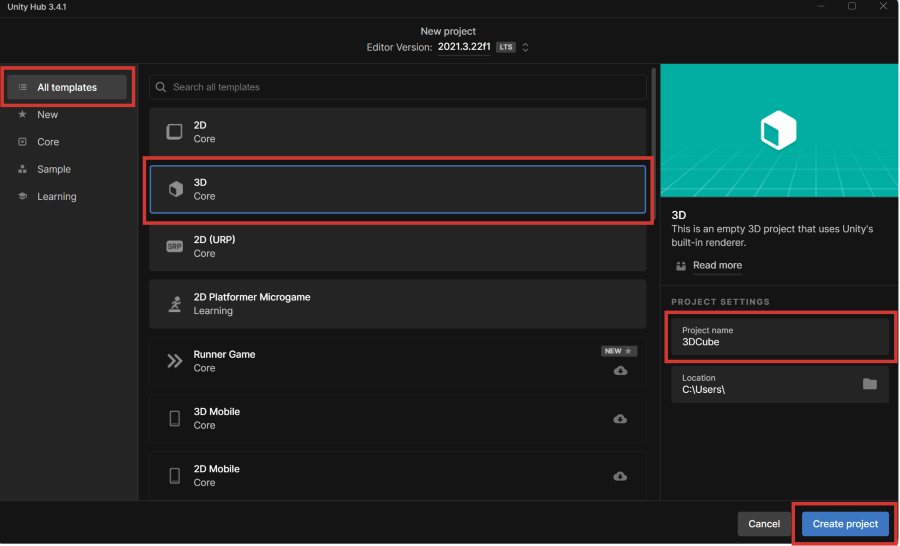
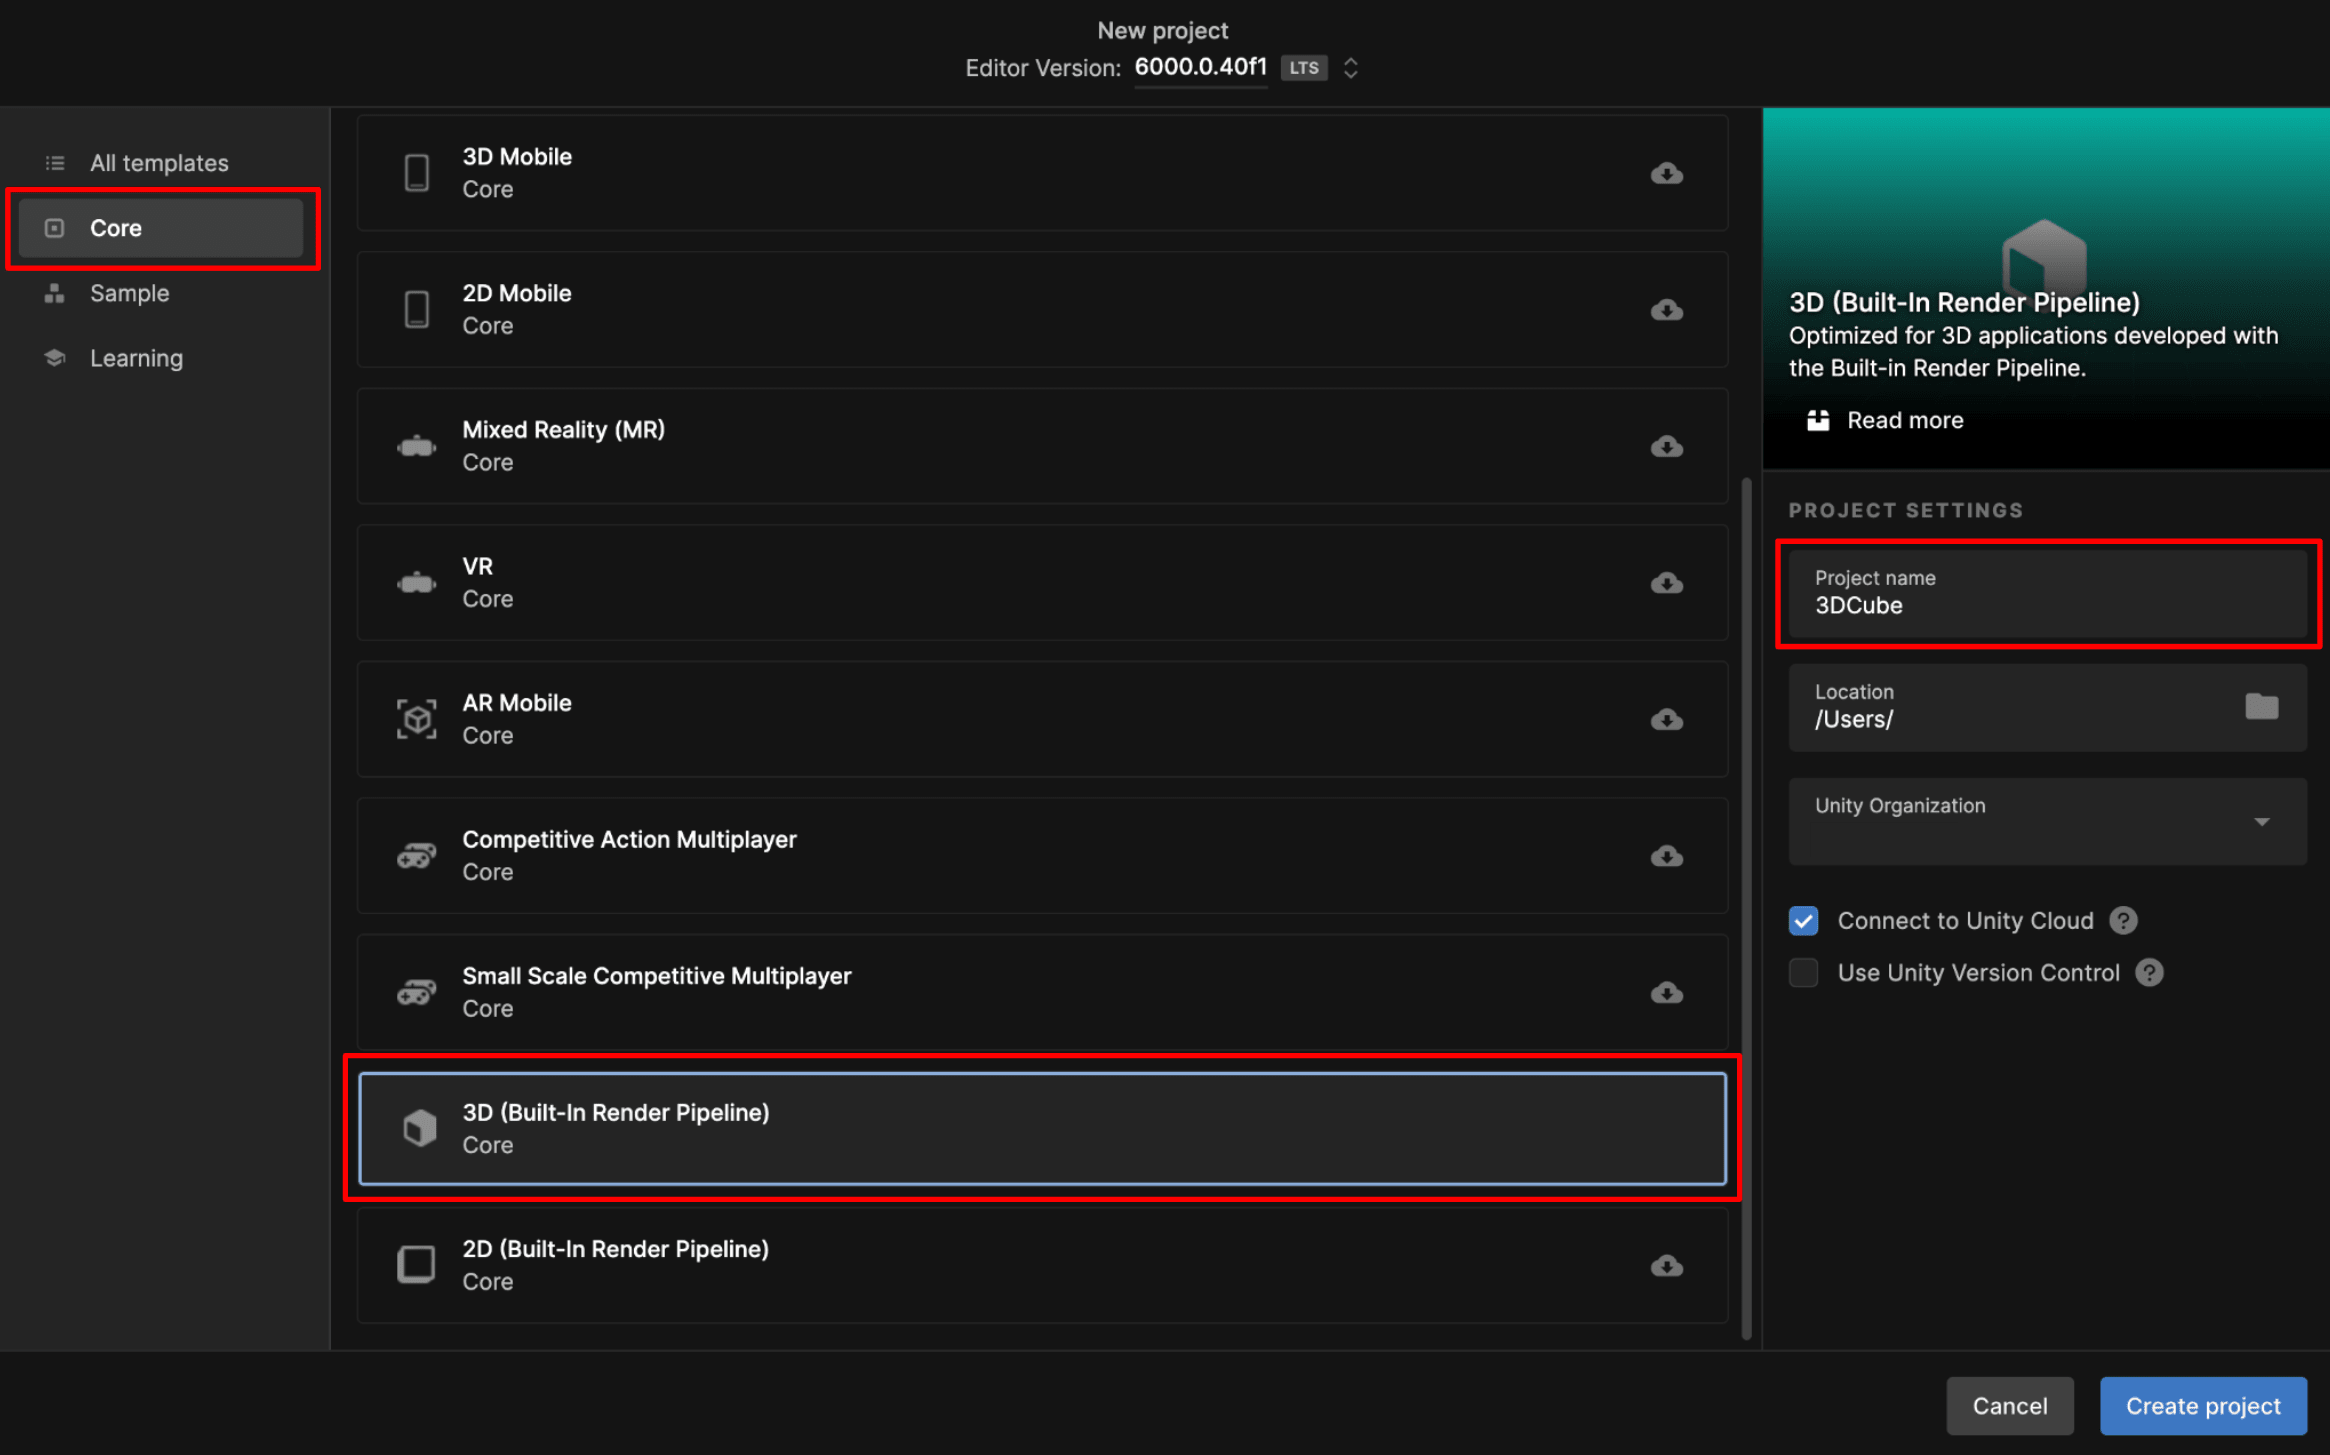
The New project dialog appears.
Select All templates from the left menu followed by the 3D template and name the project 3DCube. If you'd like to change where the project will be saved, change the Location settings. Then, select the Create project button.
A new project is created, and Unity opens when the project finishes loading.
On Unity Hub, select Projects from the left menu.
Select the New project button on the top-right corner.
The New project dialog appears.
Select Core from the left menu followed by the 3D (Built-In Render Pipeline) template and name the project 3DCube. If you'd like to change where the project will be saved, change the Location settings. Then, select the Create project button.
A new project is created, and Unity opens when the project finishes loading.
Set the default code editor in Unity
Once Unity loads your project, you need to configure Unity to use the correct installation of Visual Studio.
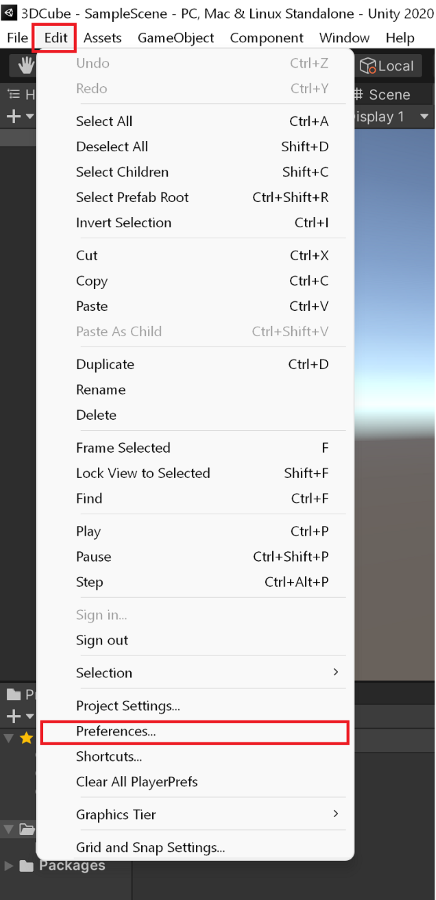
On the menu bar, select Edit > Preferences.
The Preferences dialog appears.
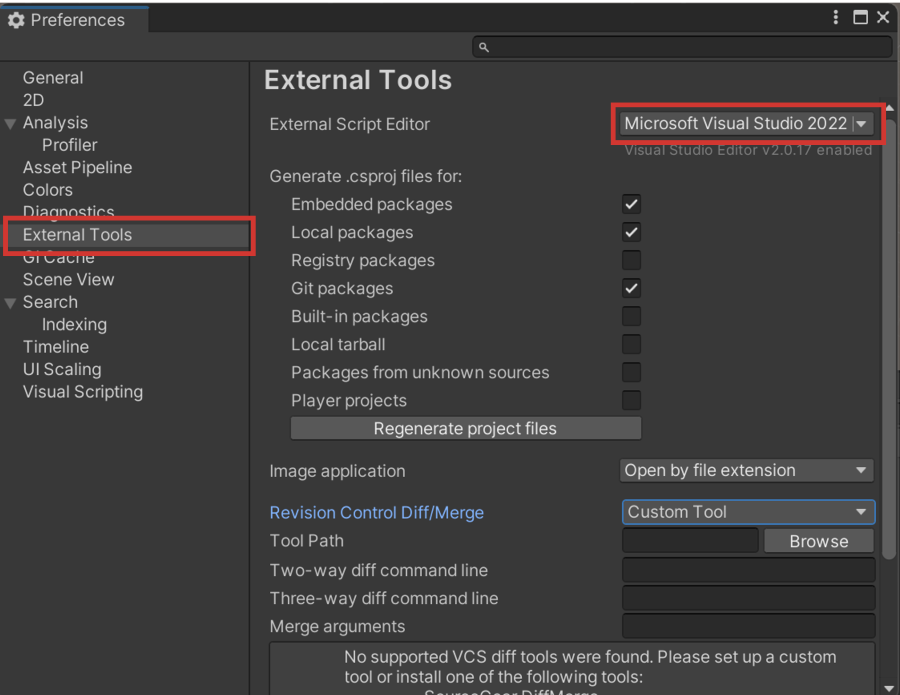
Select the External Tools tab. From the External Script Editor drop-down list, choose Visual Studio 2022.
If you're not seeing Visual Studio 2022 on the list, select Browse on the drop-down list and locate your Visual Studio 2022 installation. The Visual Studio Community edition is typically found under %ProgramFiles%\Microsoft Visual Studio\2022\Community\Common7\IDE.
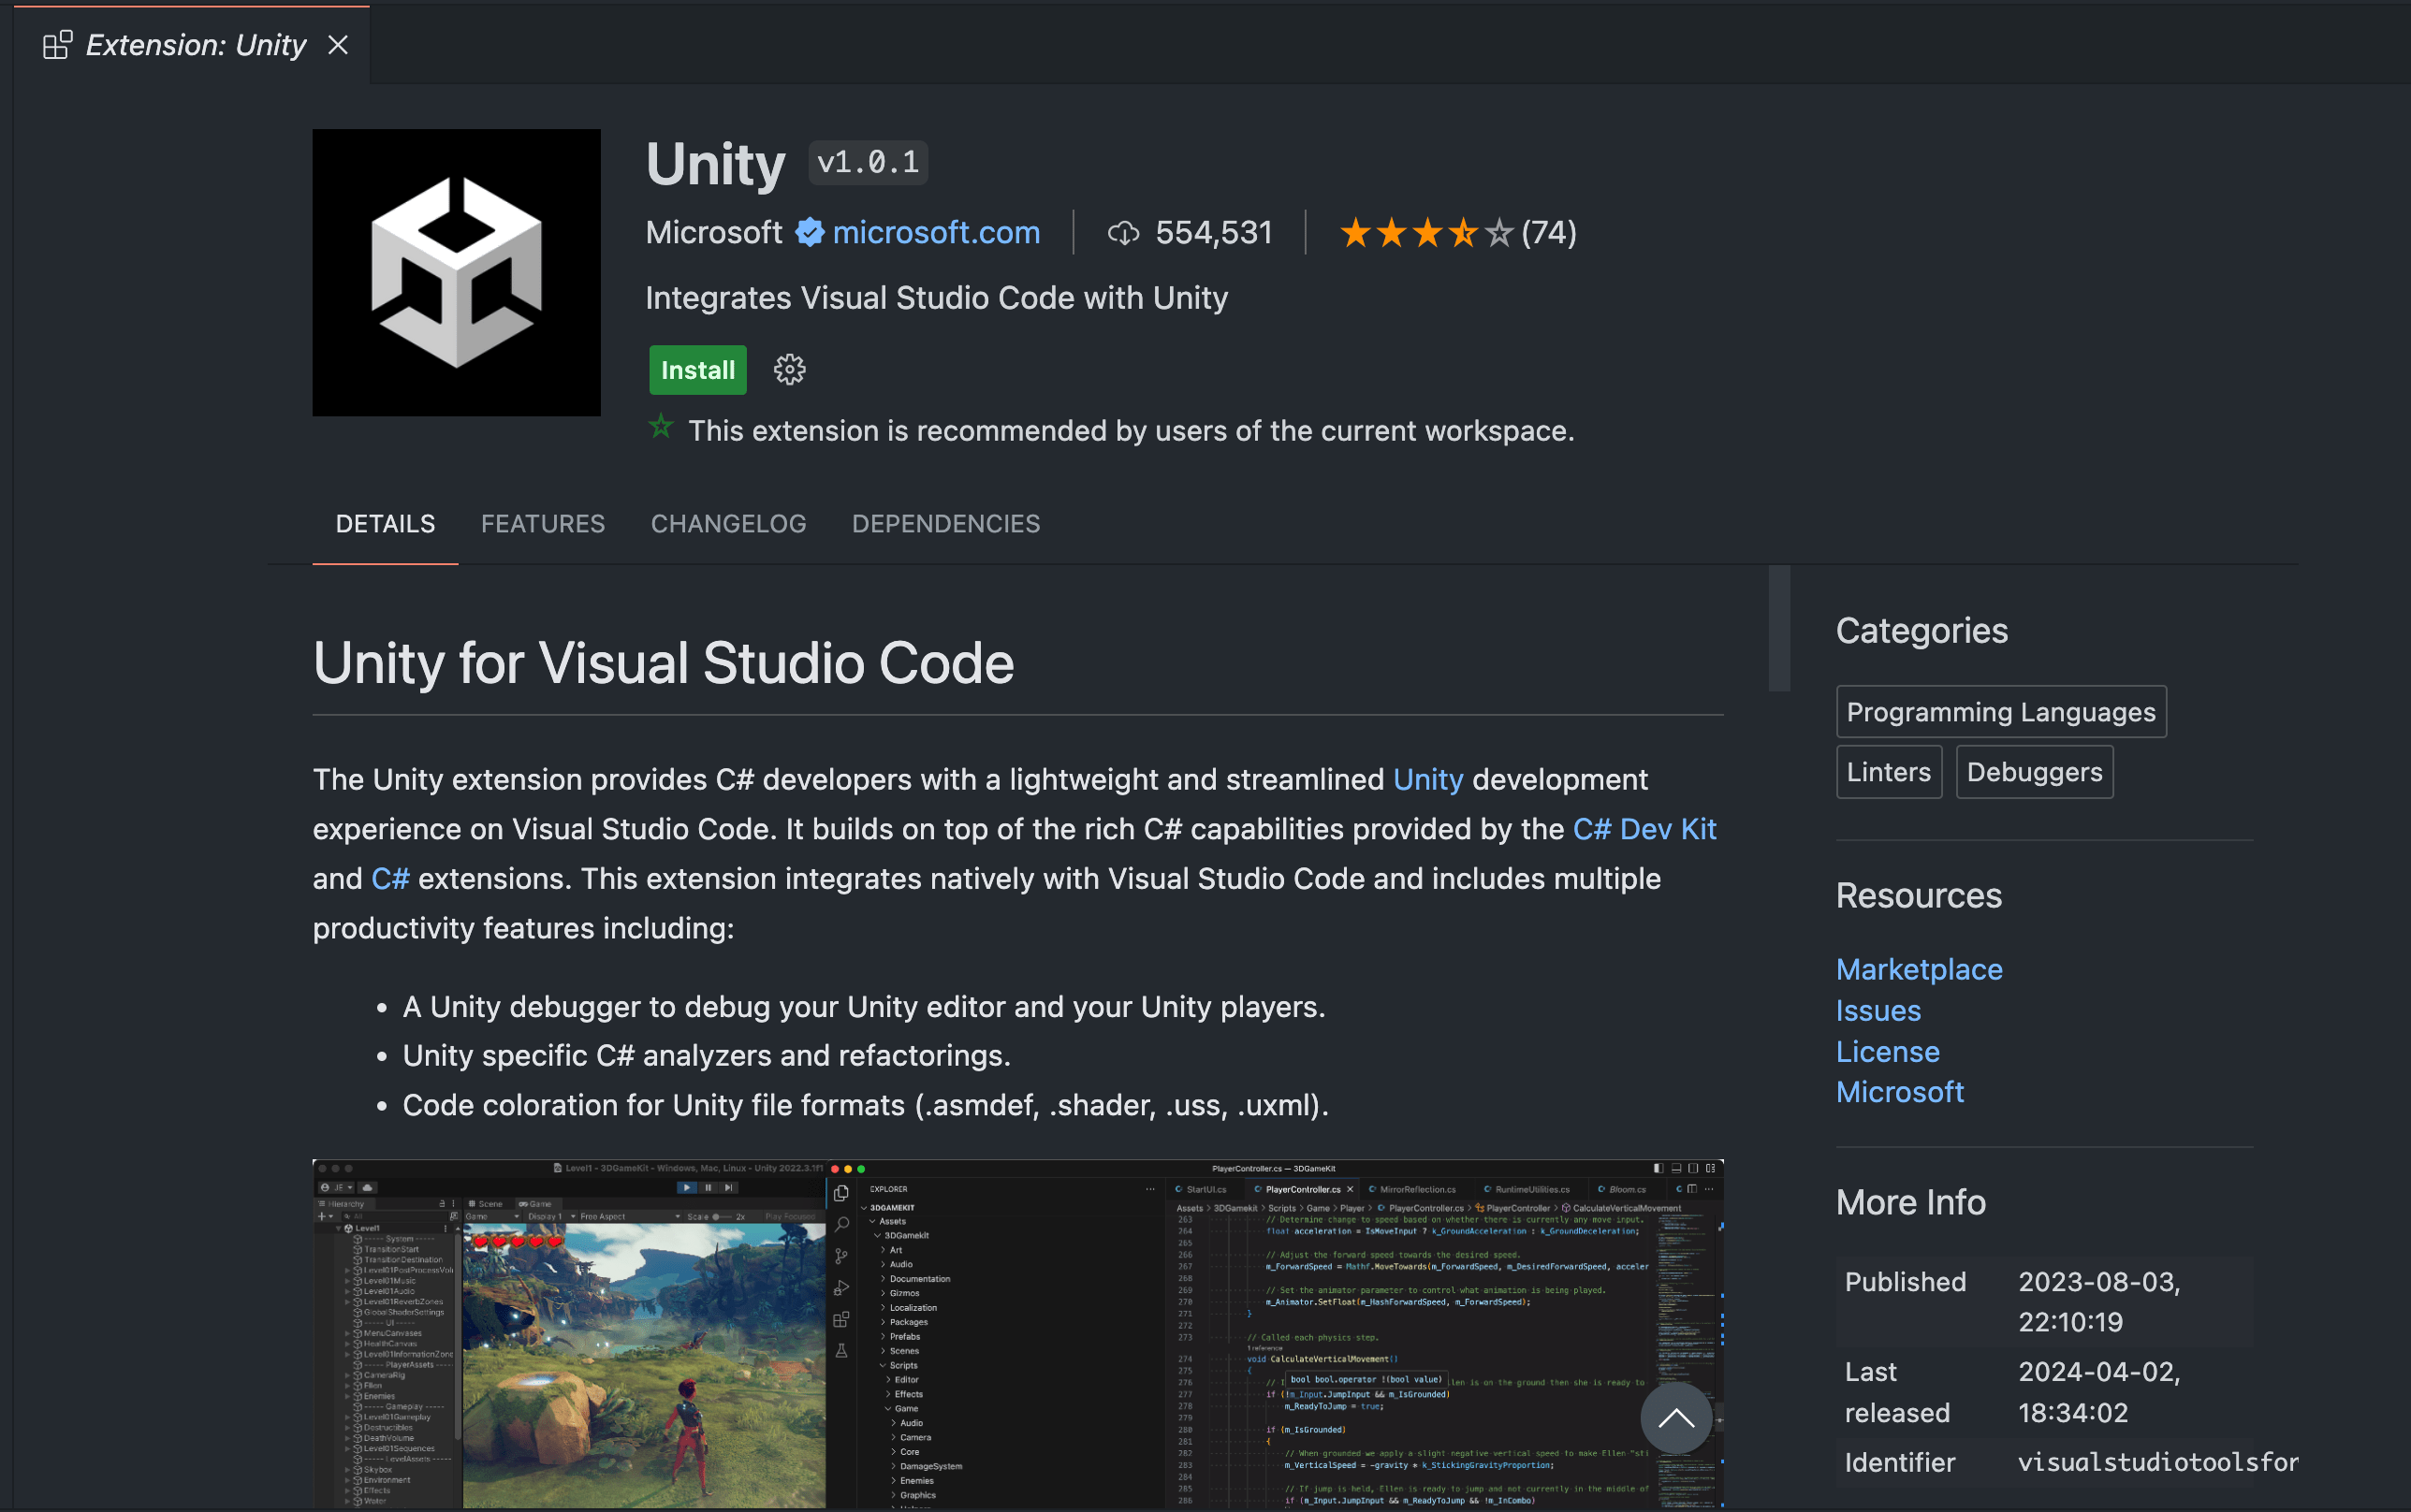
Once Unity loads your project, let's set Unity to use Visual Studio Code by default.
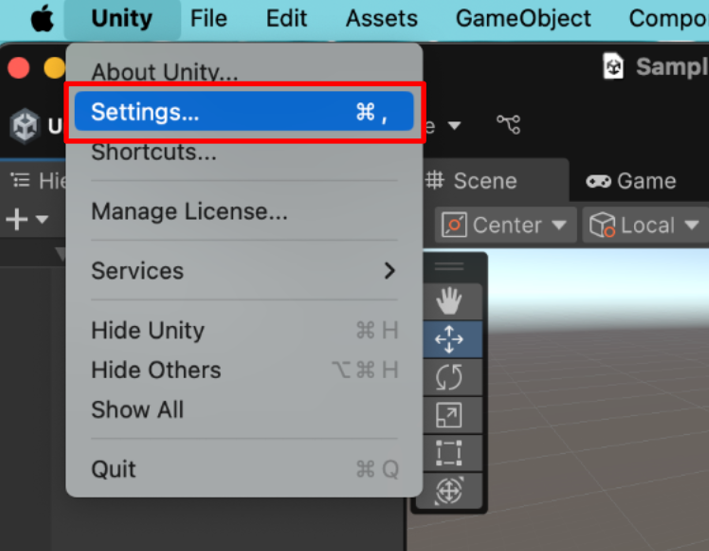
On the menu bar, select Unity > Settings.
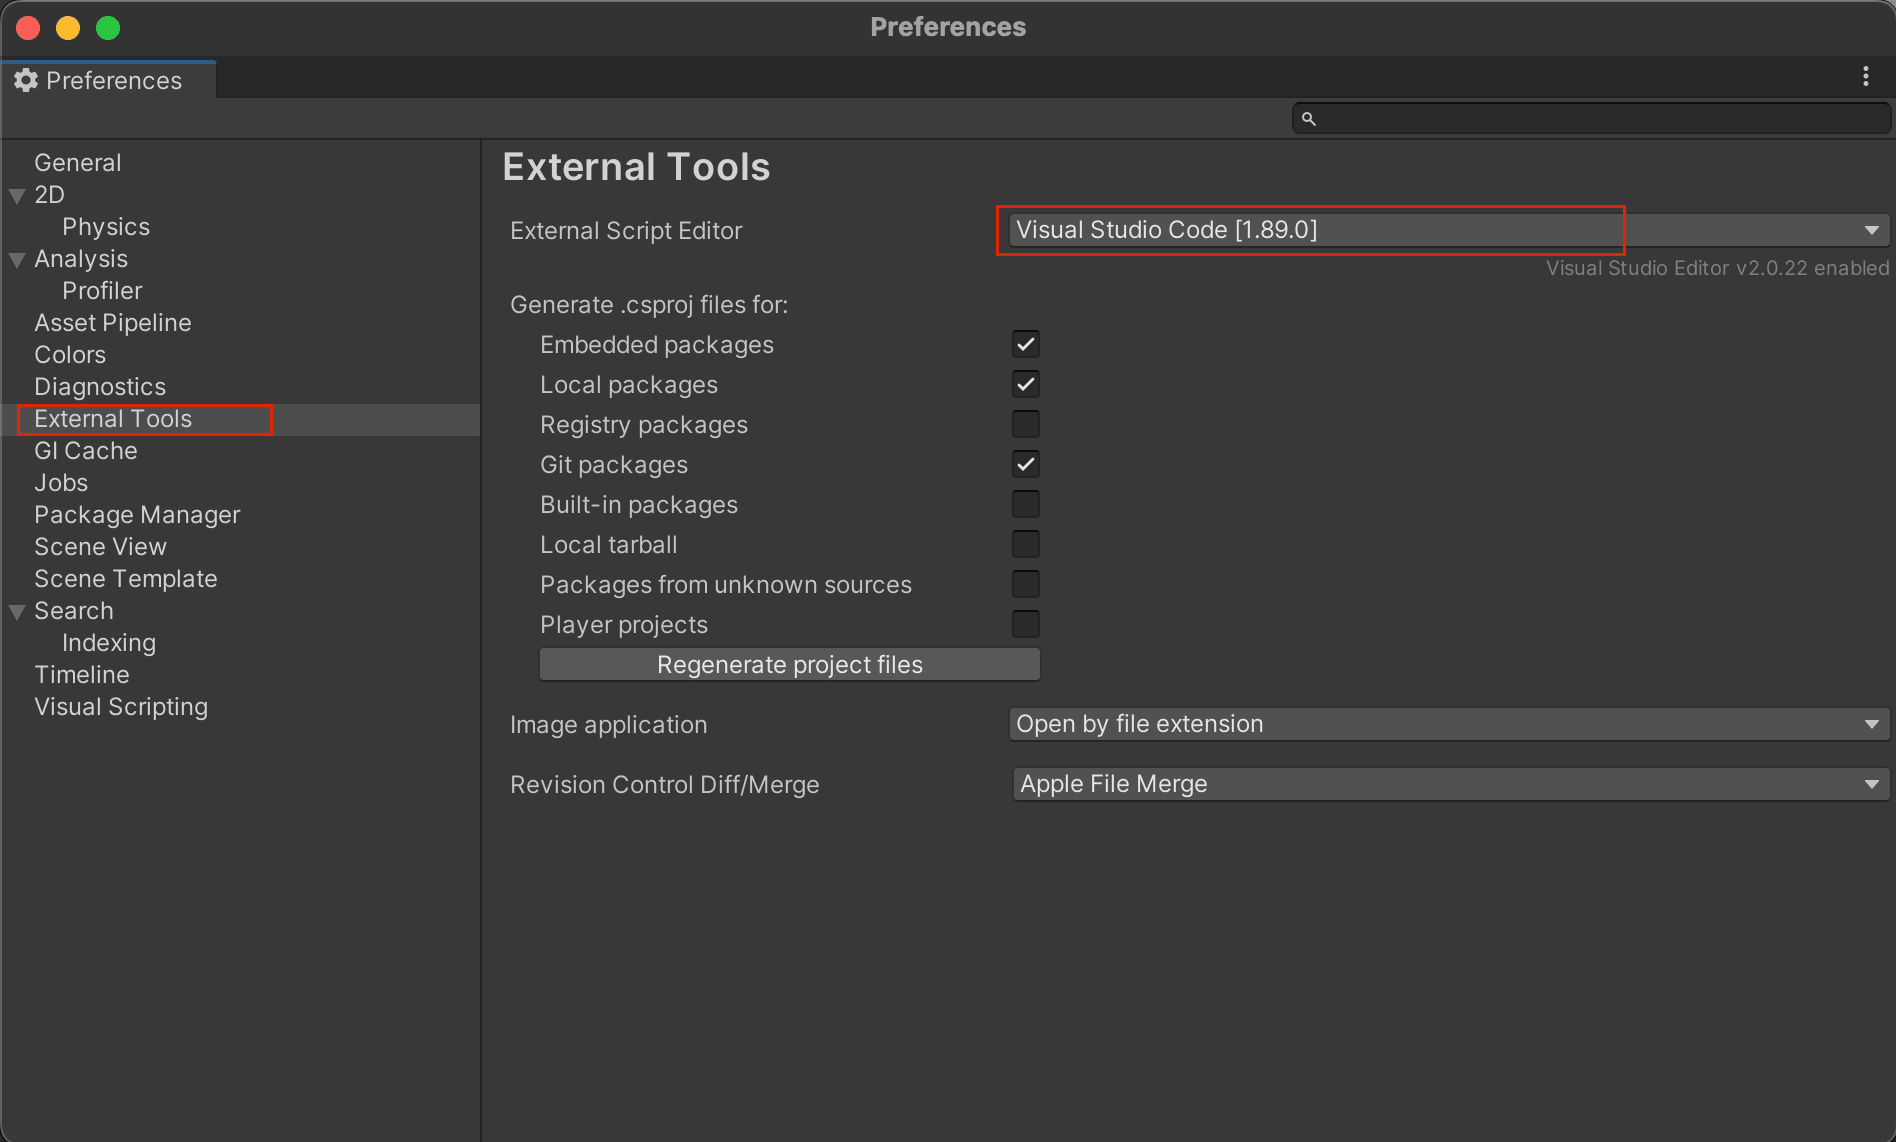
The Preferences dialog appears.
Select the External Tools tab. From the External Script Editor drop-down list, choose Visual Studio Code.
If you're not seeing Visual Studio Code on the list, select Browse on the drop-down list and locate your Visual Studio Code installation. Visual Studio Code edition is typically found under Applications/Visual Studio Code.
Create a cube
Now that Unity is configured, let's create a cube:
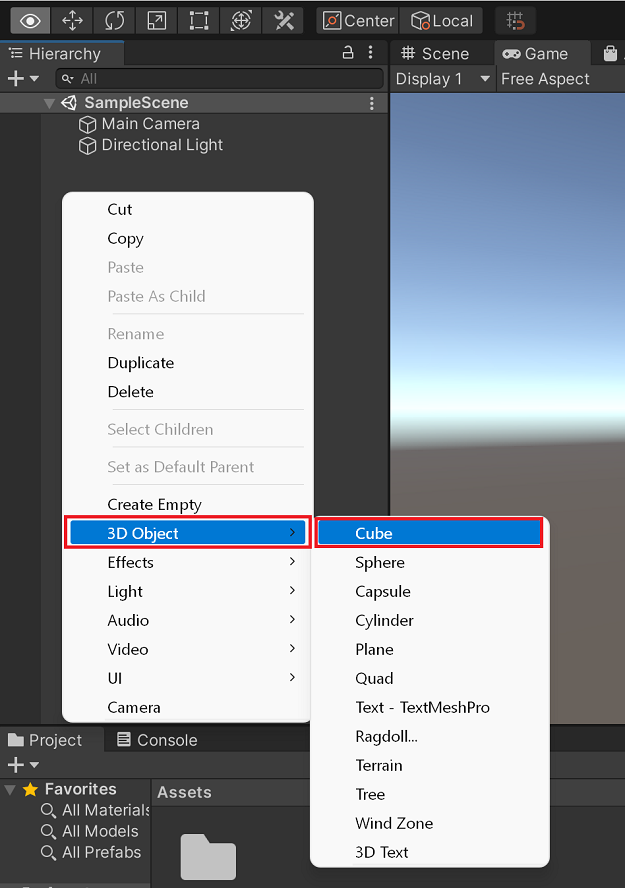
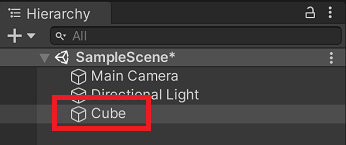
Right click on the Hierarchy window and choose 3D Object > Cube.
A cube object gets added to the Hierarchy window and the Scene view.
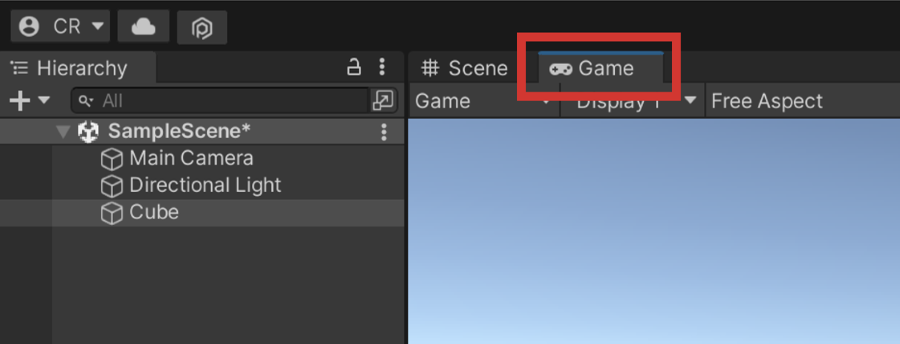
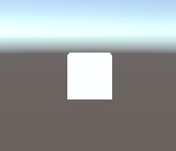
Select the Game tab.
You should see a cube in the Game view, like the following:
Add a script
Let's create a script and add it to the cube.
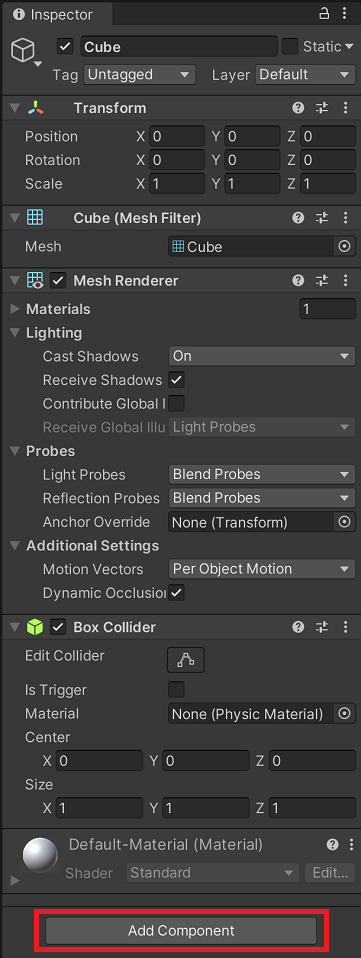
Select the Cube object in the Hierarchy window.
You should see the Inspector window change to reflect the properties of the cube.
On the Inspector window, select the Add component button at the bottom.
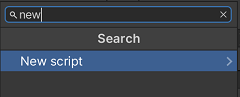
A new drop-down list appears.
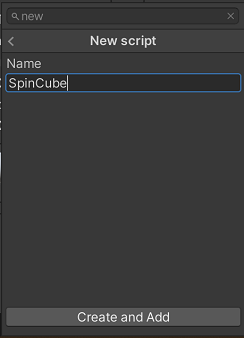
Enter the word new and choose New script.
Enter SpinCube as the name of the script and select the Create and Add button. This should add this new script to your cube.
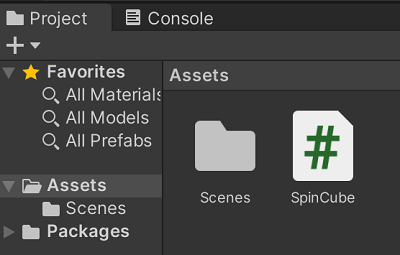
You should also see the script appear in your Assets folder in the Project window on the bottom of the editor.
You're now ready to edit that script and create some movements!
Edit a script
Let's make the cube spin now.
Double click on the SpinCube script in the Project window. This will automatically start Visual Studio. Doing that for the first time might take some time.
Double click on the SpinCube script in the Project window. This will automatically start Visual Studio Code. Doing that for the first time might take some time.
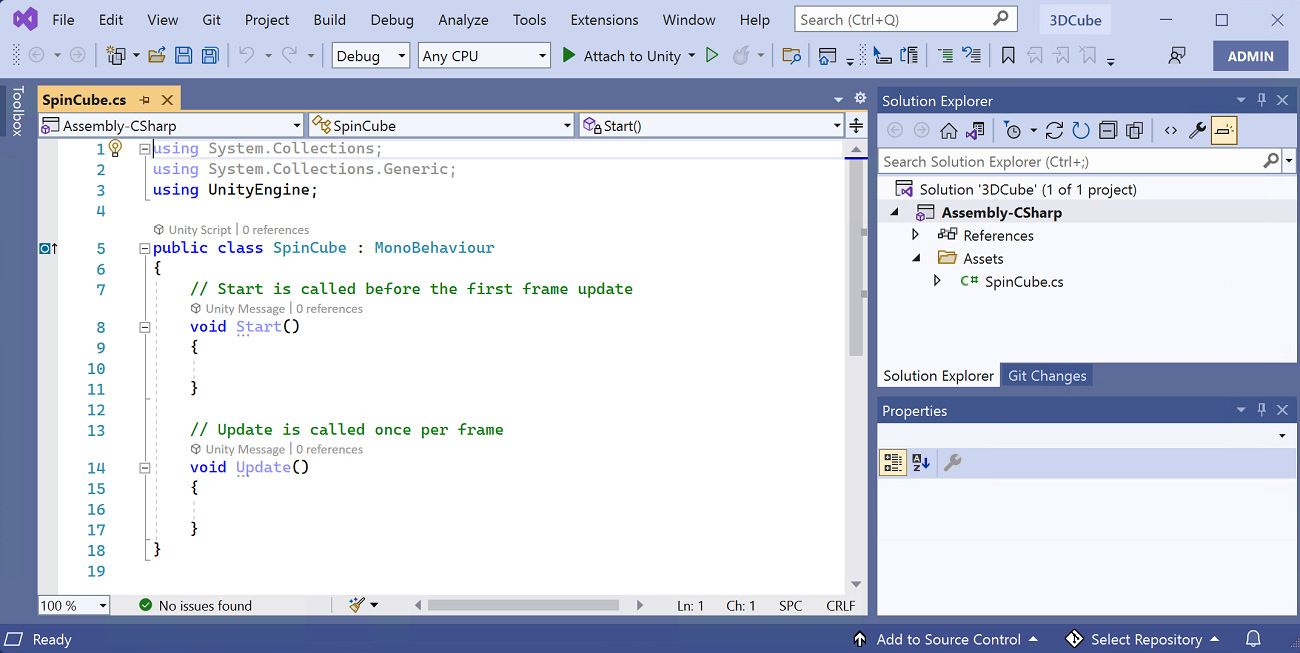
Visual Studio should look something like this, once it's fully loaded:
You should see two methods on the generated C# code:
Start(): a method that runs once when the cube gets created in a 3D scene.
Update(): a method that runs once for every frame of the object that the 3D engine draws to the screen. This means it runs every time the engine wants to figure out where the cube should be in the scene.
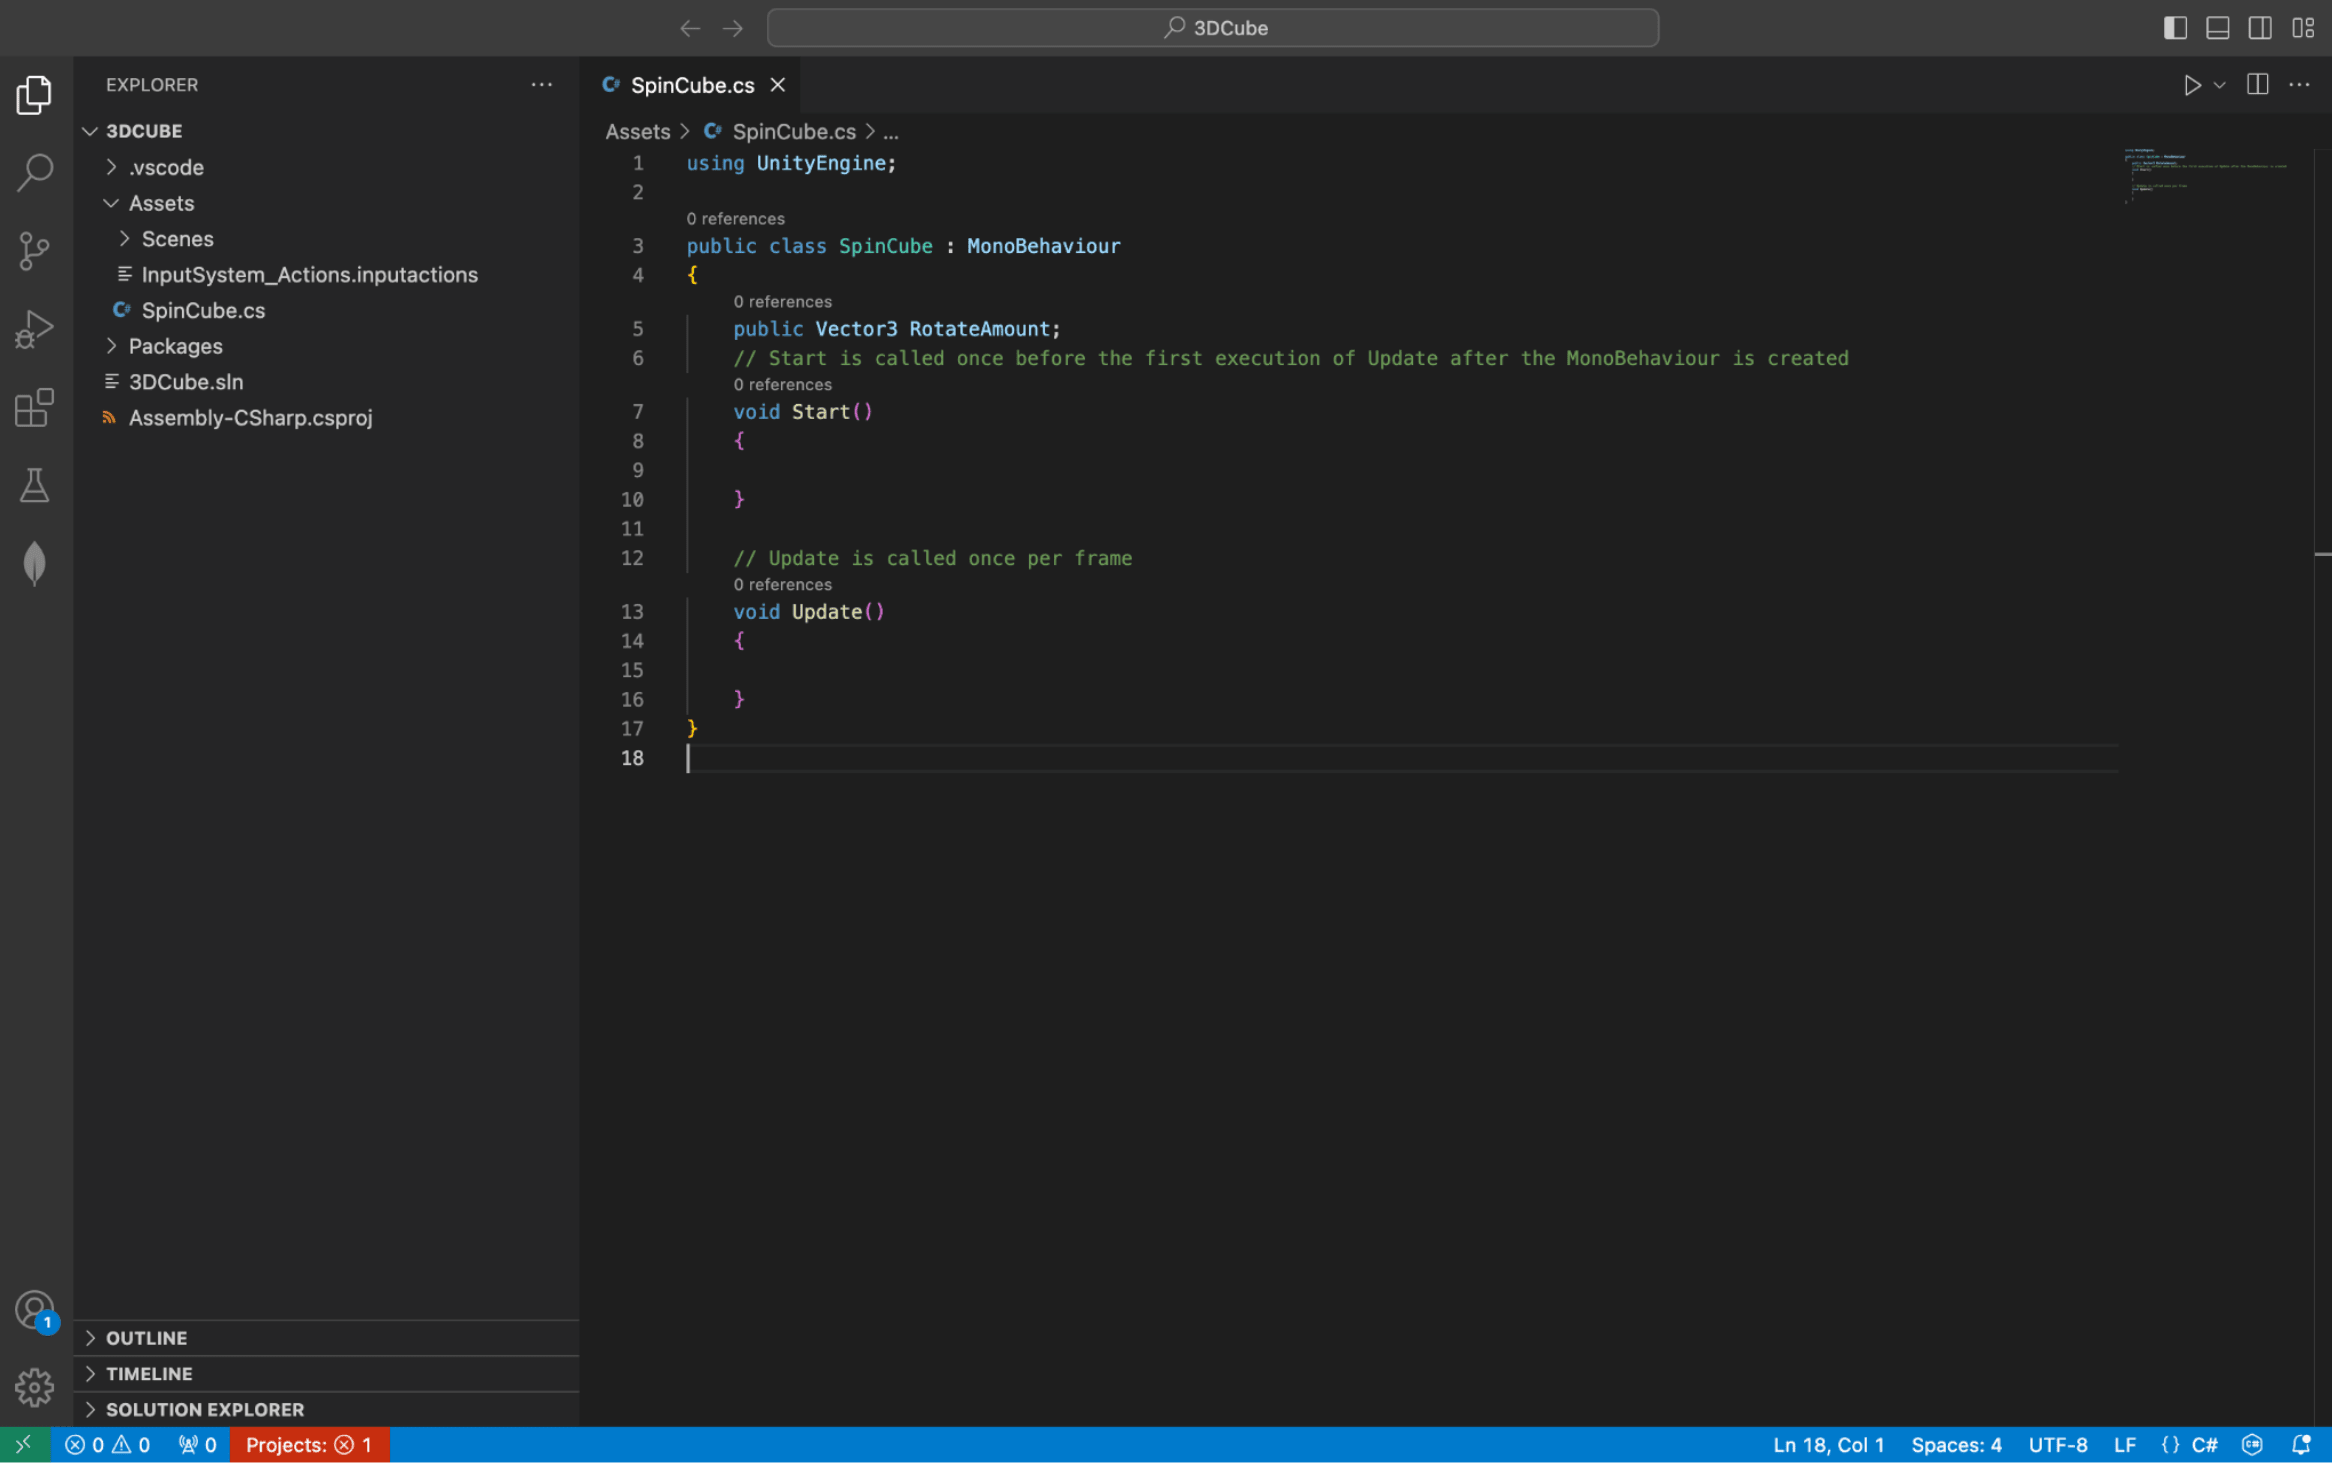
Visual Studio Code should look something like this, once it's fully loaded:
You should see two methods on the generated C# code:
Start(): a method that runs once when the cube gets created in a 3D scene.
Update(): a method that runs once for every frame of the object that the 3D engine draws to the screen. This means it runs every time the engine wants to figure out where the cube should be in the scene.
Let's start writing a script to rotate the cube by creating a variable that will control the rotation.
Insert the highlighted line of code above the Start method. This code creates a public Vector 3, with x,y,z coordinates that will control the rotations in a 3D space.
C#
public Vector3 RotateAmount;// Start is called before the first frame updatevoid Start(){
Then add the highlighted line of code inside the Update method. Every game object in Unity has a Transform script that dictates where it exists in 3D space and its rotation in 3D space. You'll use the Rotate method here and specify the rotation amount you want to happen on that game object.
C#
// Update is called once per framevoid Update(){ transform.Rotate(RotateAmount);}
Press CTRL + S to save your changes in Visual Studio.
Press CMD + S to save your changes in Visual Studio Code.
Now, go back to the Unity editor and choose the Cube object in the Hierarchy window again.
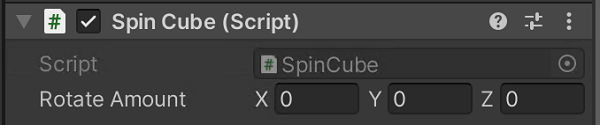
On the Inspector window, you should find that the Public variable you've created is now visible under the new script you added to the cube.
Change the Y value to 1, and then press the Play button on the top and center of the Unity editor.
Since the Update method runs every frame, you'll see that the cube will rotate by one for every frame. Feel free to change those values up and have some fun. You're now ready to build the game for different platforms.
Build the cube
Now, you're ready to export the game into an executable application.
On the Unity main menu, choose File > Build Settings.
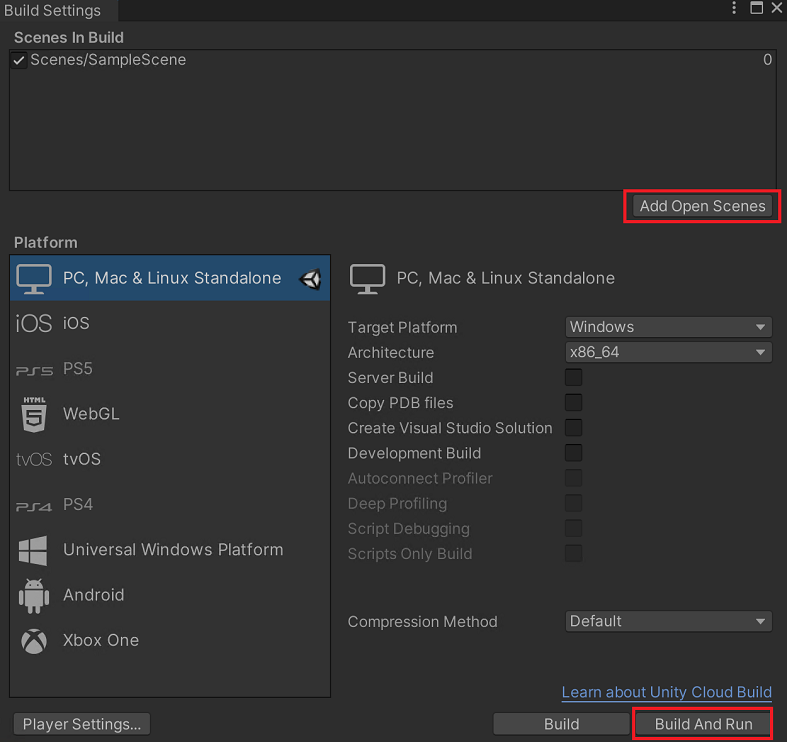
Select the Add Open Scenes button to add the scene you just created.
By default, you'll see that the Platform is set to PC, Mac & Linux Standalone on the left. You can change the Target Platform further to choose the machine you're trying this tutorial on. When ready, select the Build and Run button. Save the executable application to your Desktop.
The build process starts.
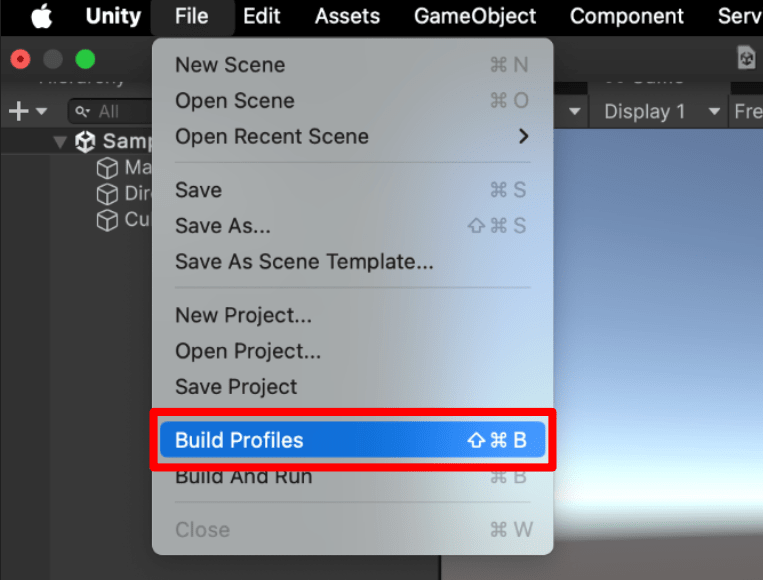
On the Unity main menu, choose File > Build Profiles.
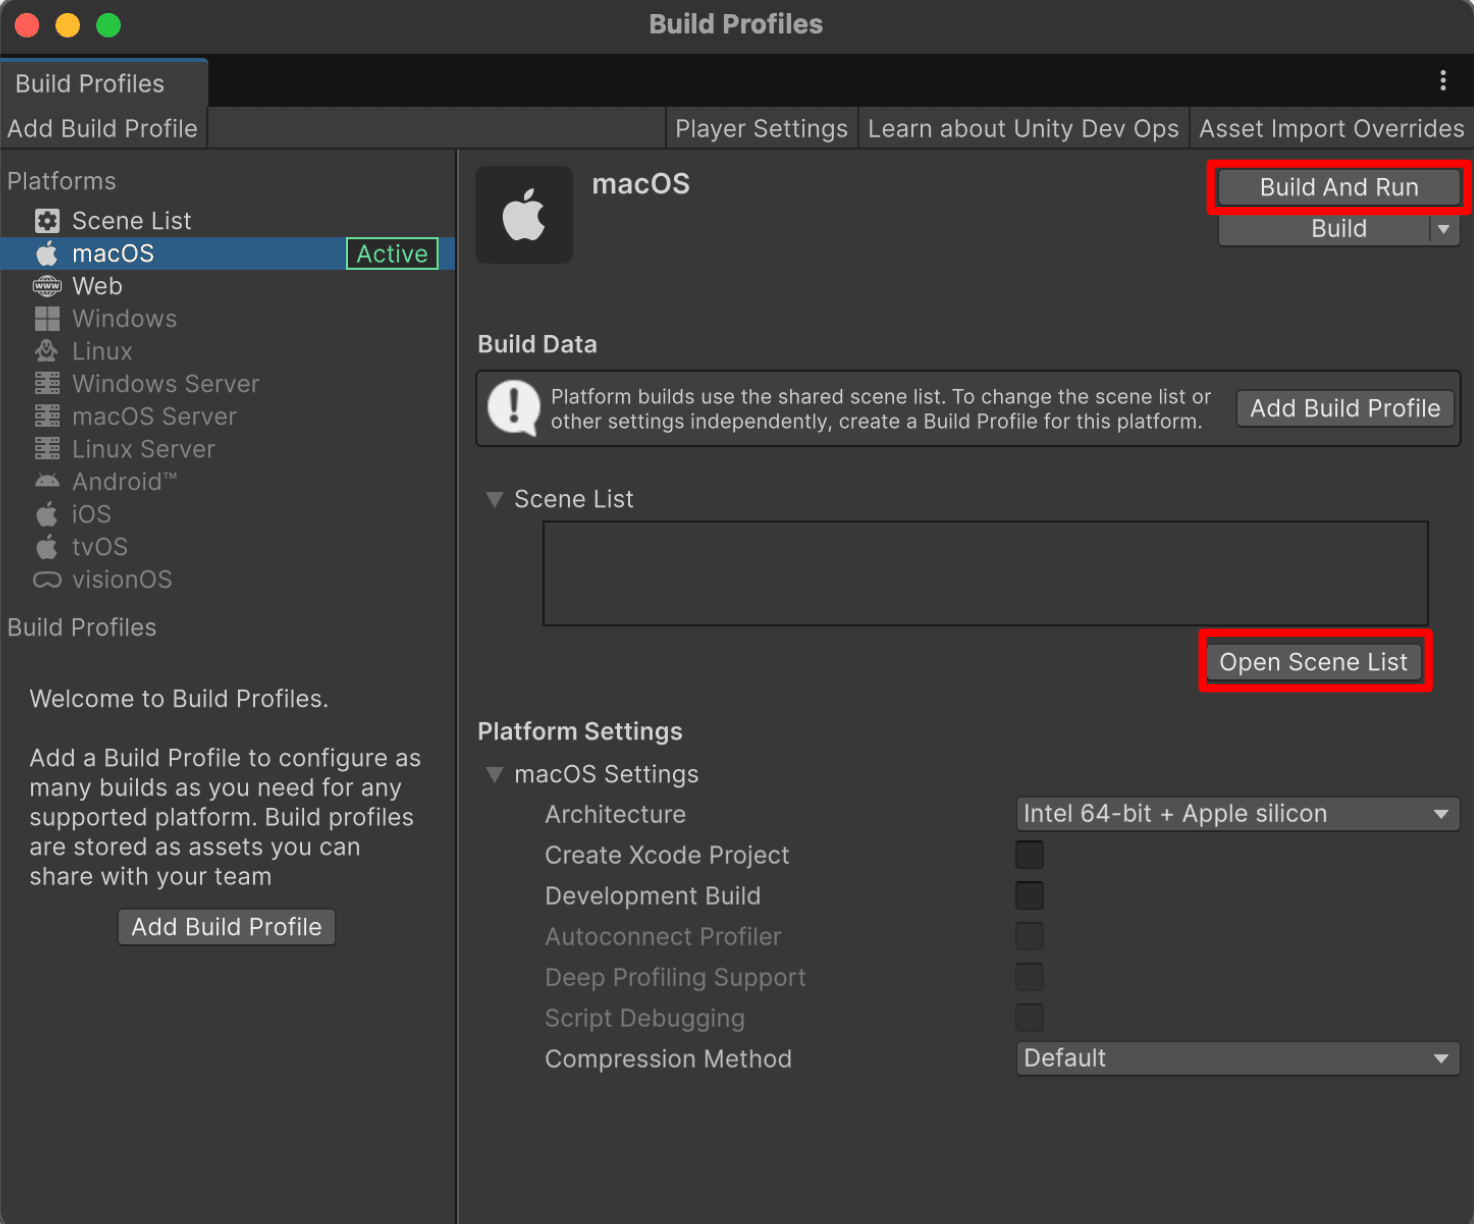
Select the Open Scene List button to add the scene you just created.
By default, you'll see the macOS Platform is set to active. You can change the Target Platform further to choose the machine you're trying this tutorial on. When ready, navigate to the macOS platform in the left menu and select the Build and Run button. Save the executable application to your Desktop.
The build process starts.
If the build process was a success, you should see the application running with the rotating cube. Press Alt+Enter to exit full screen.
If the build process was a success, you should see the application running with the rotating cube. Press CMD+F to exit full screen.
Next steps
Congratulations, you've built and run your first Unity application powered by .NET!
Keep learning
Now that you've got the basics, continue building your first game with Unity's self-guided tutorial: