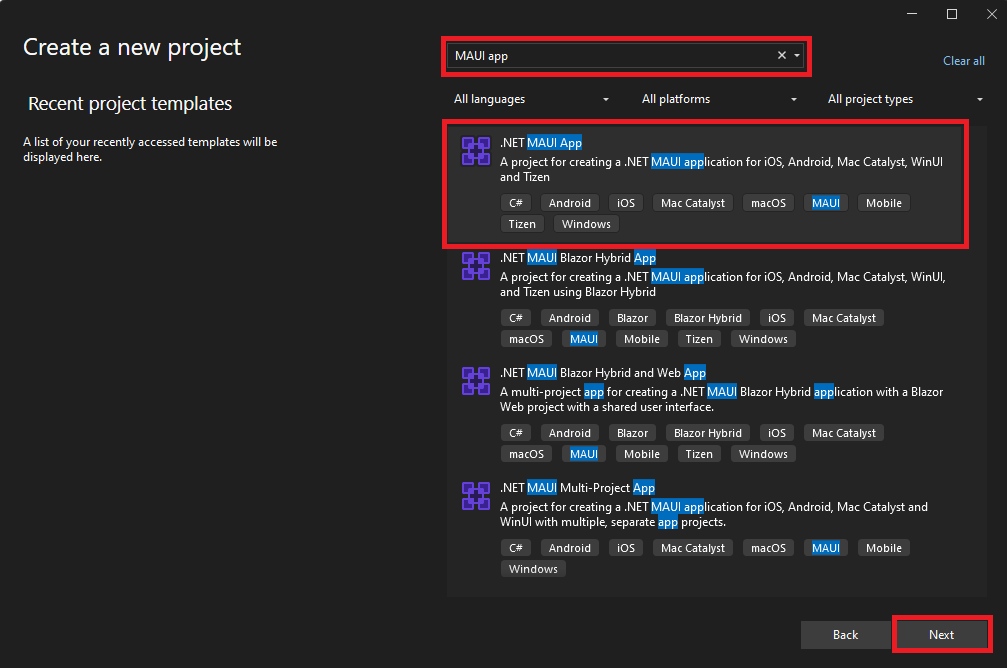
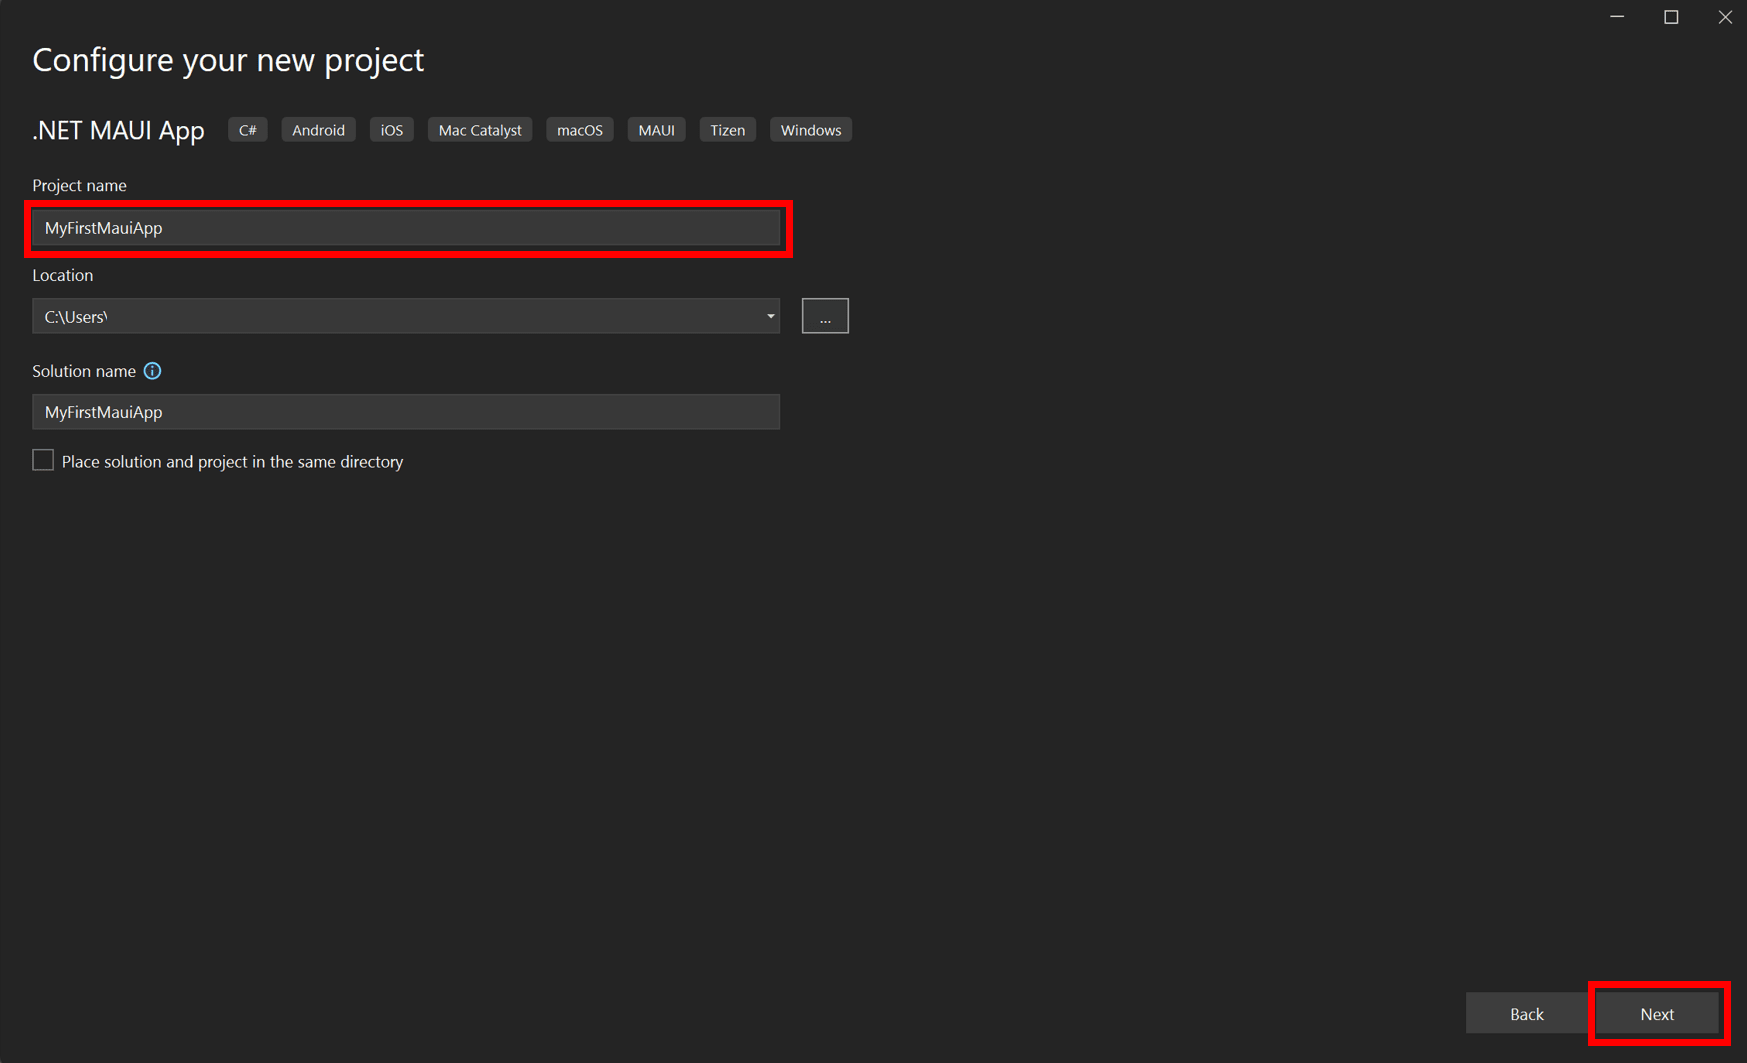
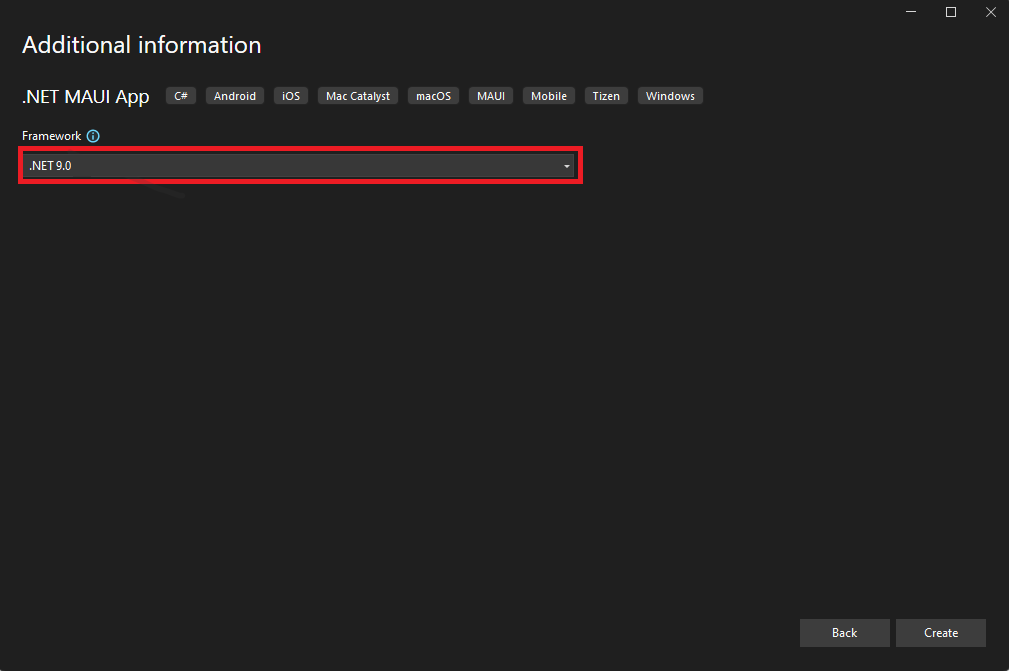
.NET MAUI Tutorial - Build your first multi-platform app in C#


Run on mobile device
You can decide to deploy to one or more of the platforms based on your development environment. You just ran and deployed your app to Windows. Now, let's set up an Android device or emulator.
Activate Hyper-V
In your Windows Search Bar, type Windows features and select Turn Windows features on or off.

Make sure the Hyper-V box is checked and select Ok.
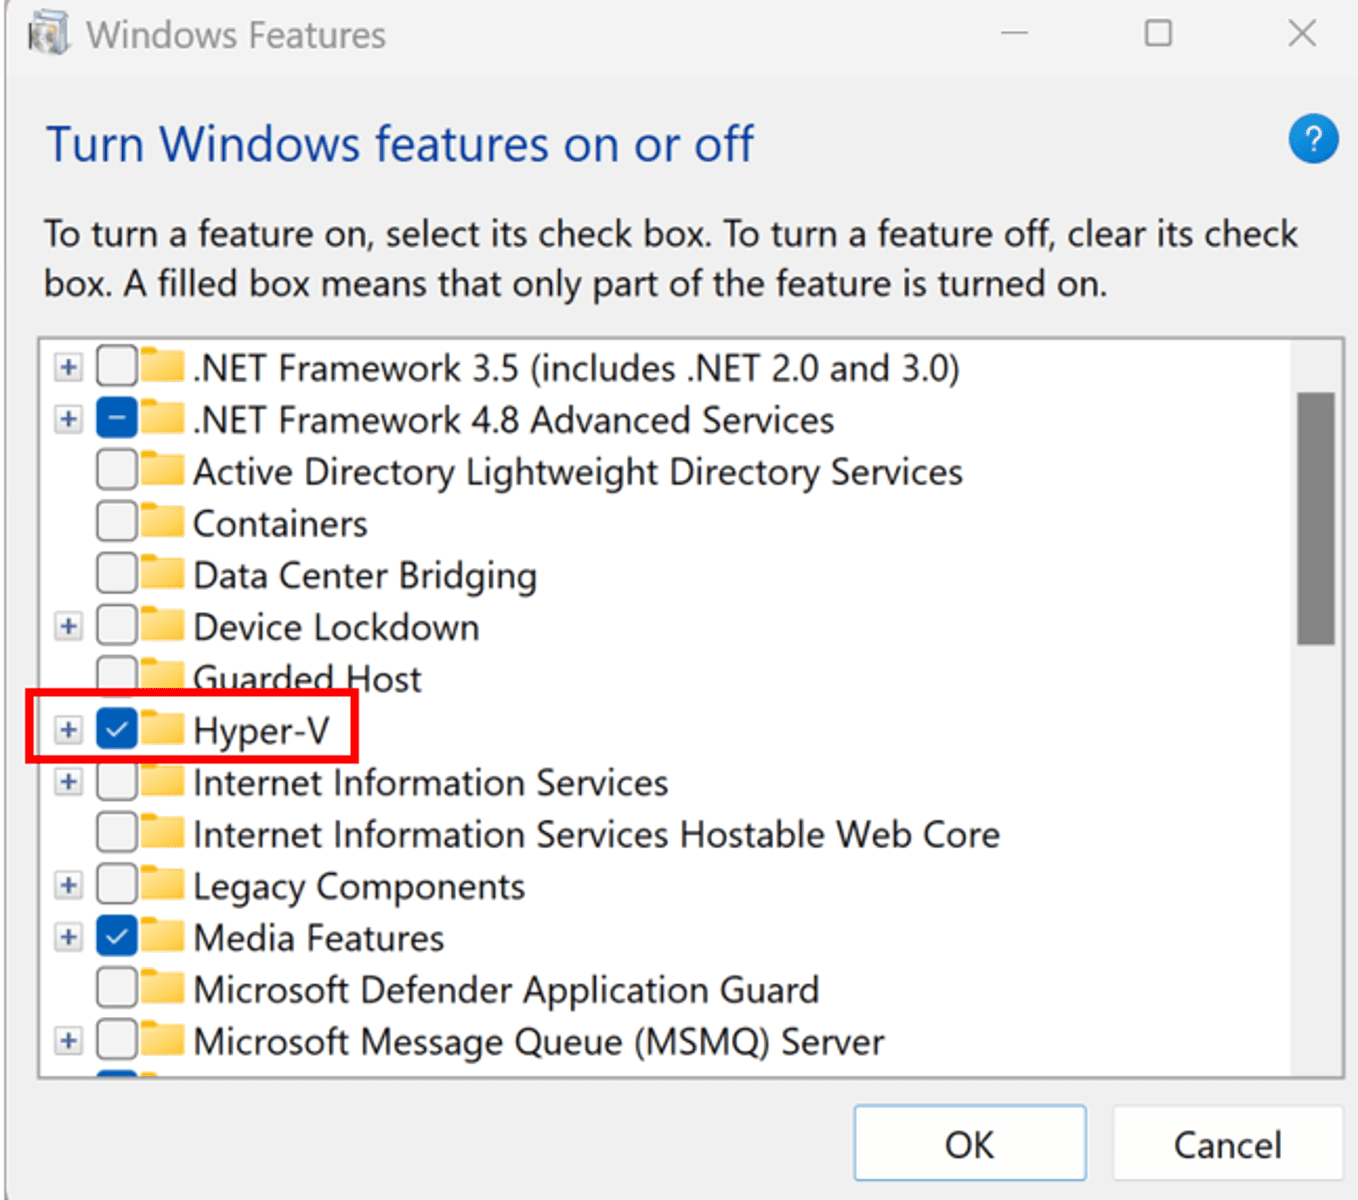
You'll need to reboot your machine at this time for the change to take effect.
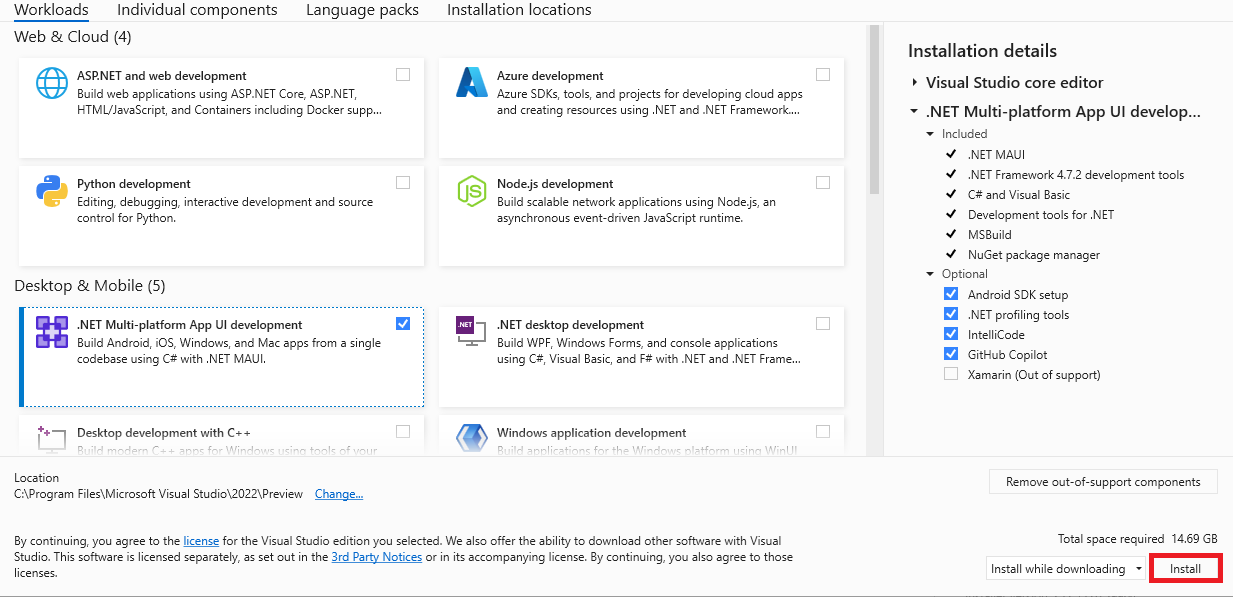
Android SDK Install
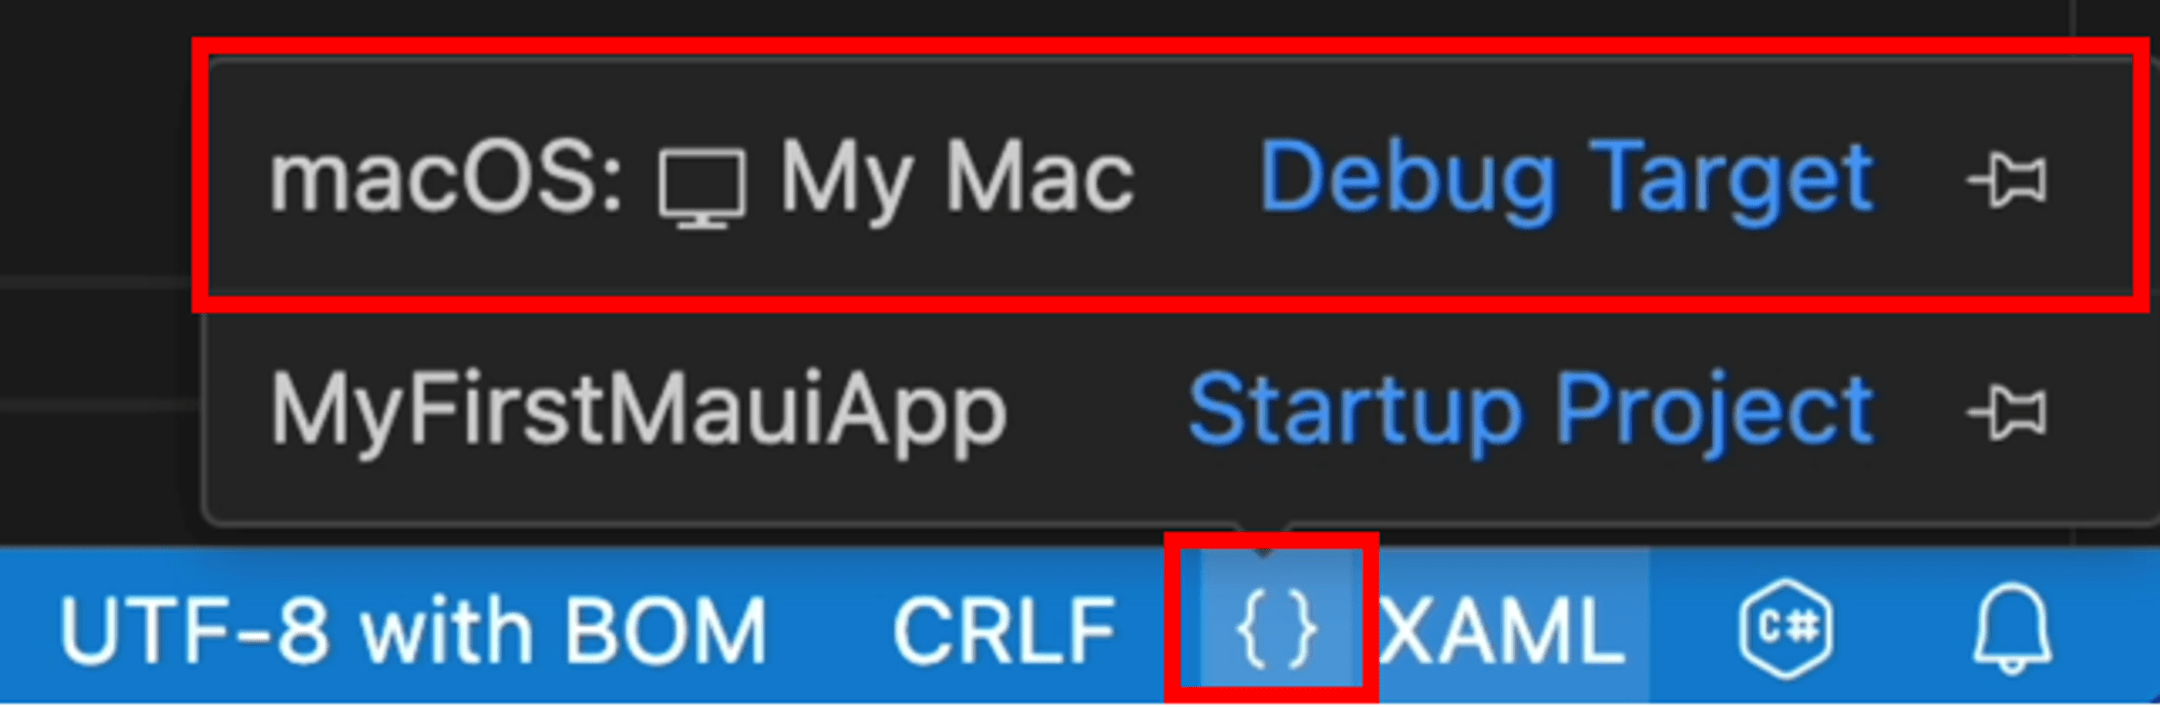
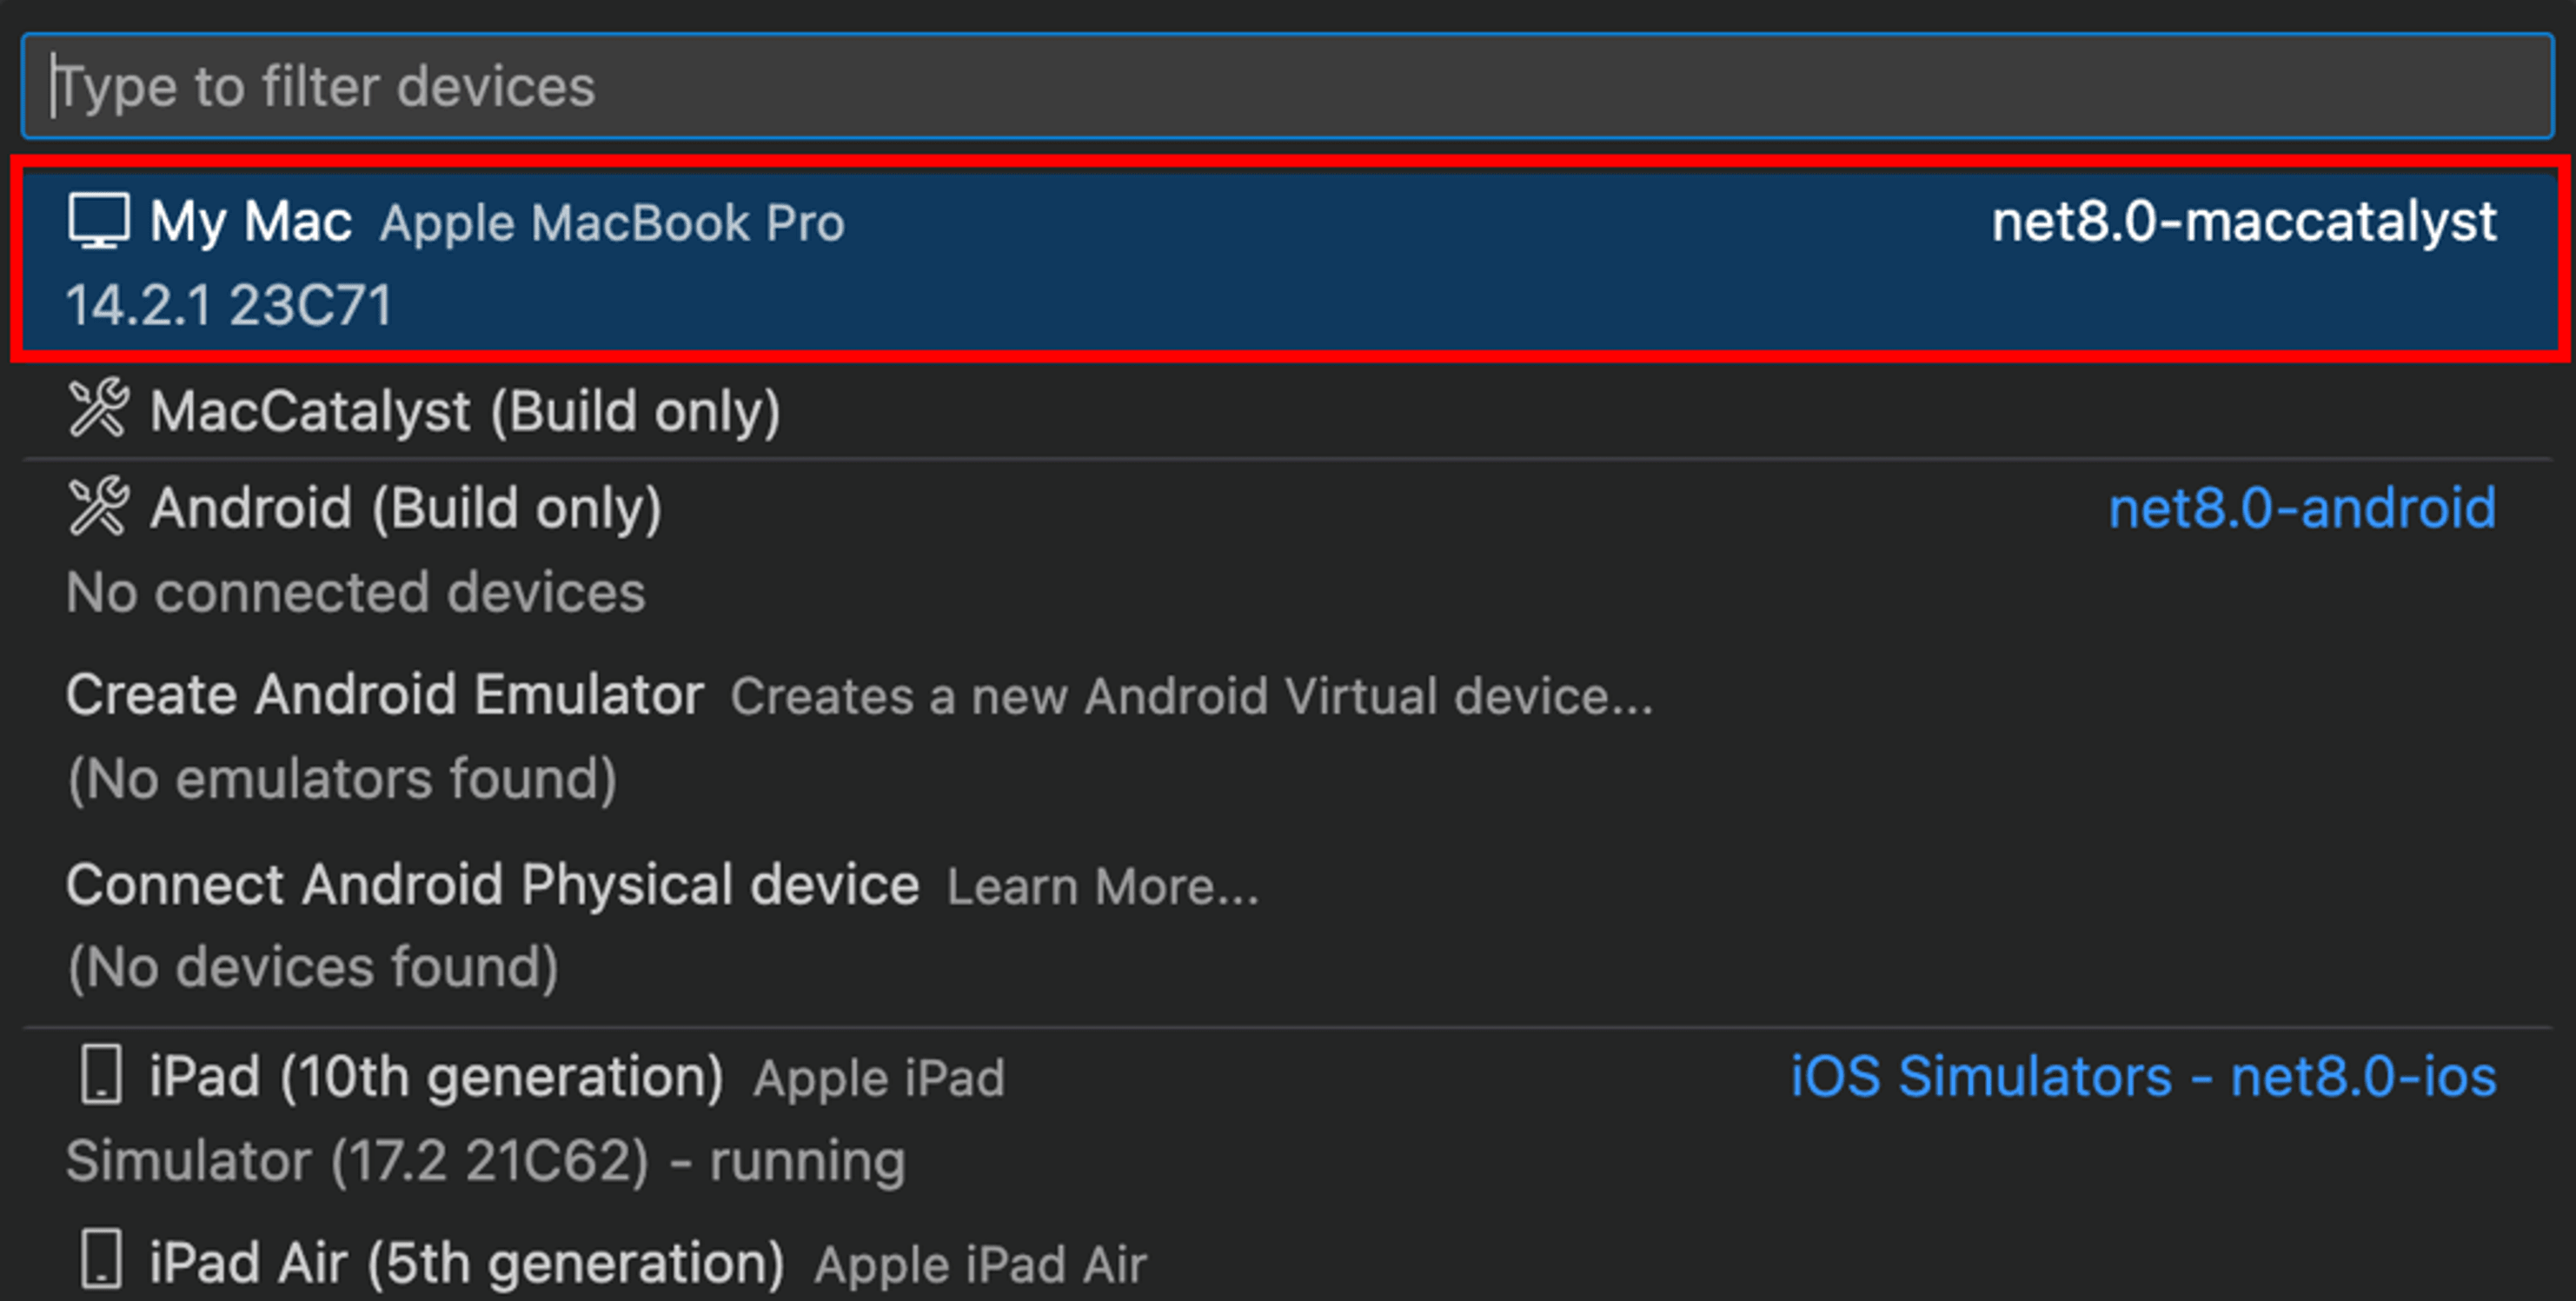
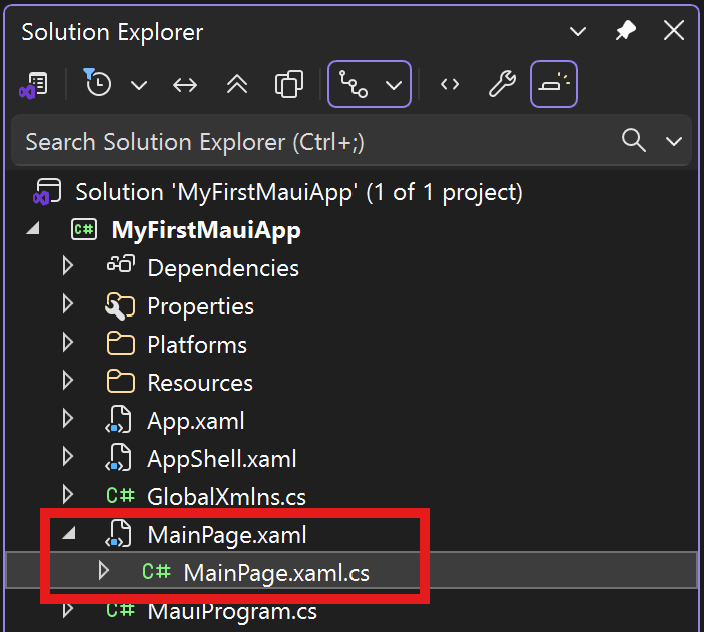
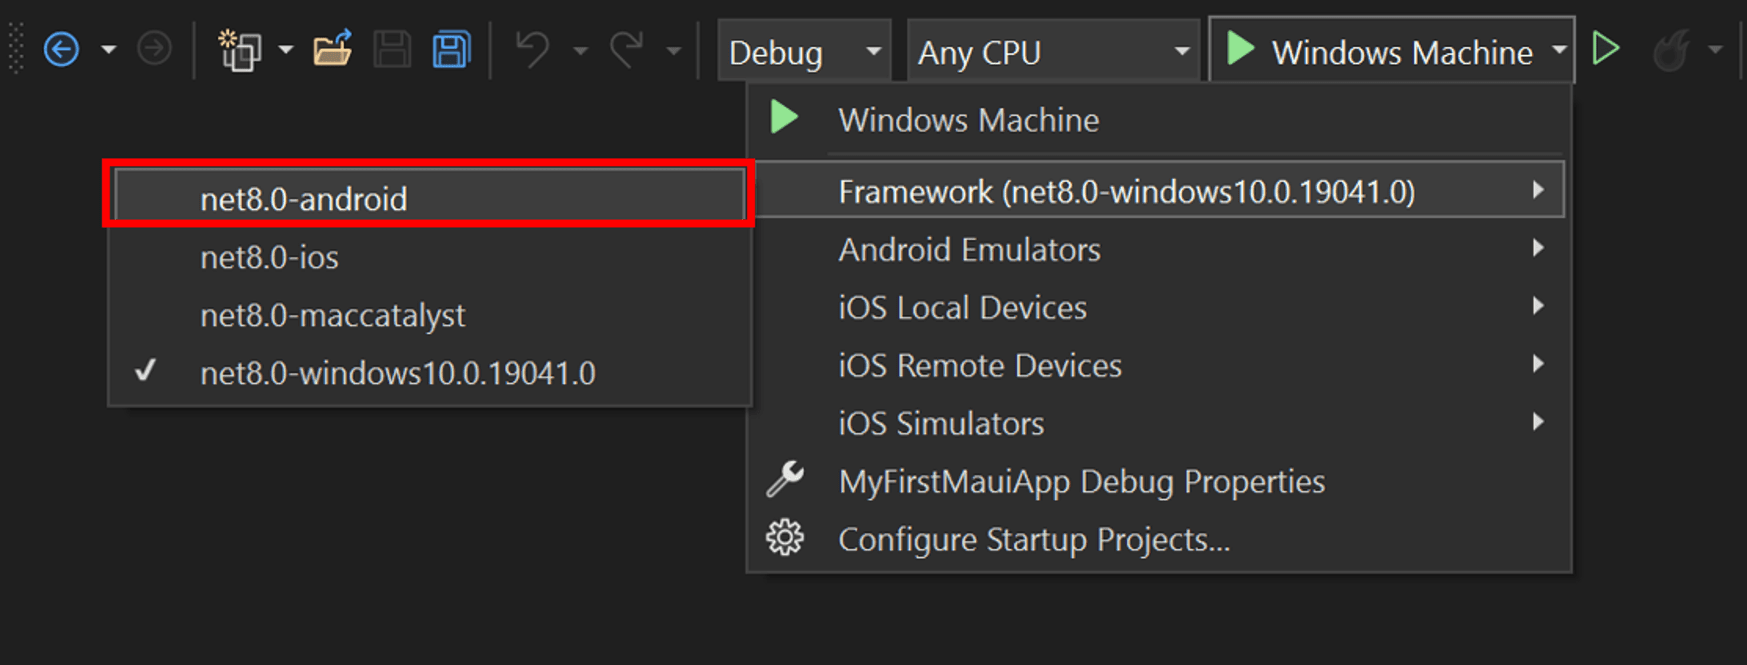
Open Visual Studio and your MyFirstMauiApp solution. From the debug target drop-down menu, select net8.0-android under Framework.
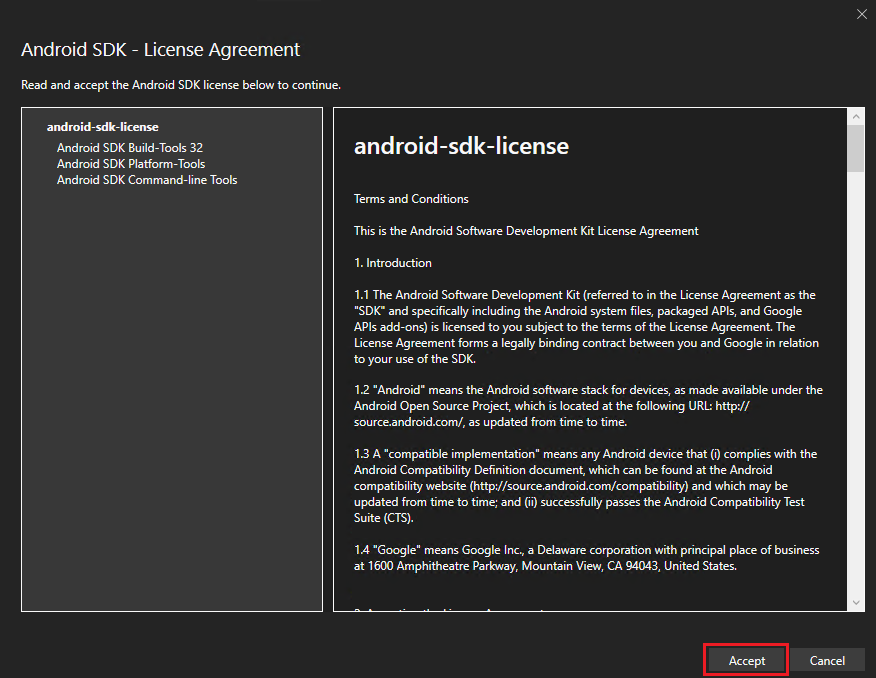
Specific versions of the Android SDK are required to build projects. If you haven't accepted the Android SDK license, you'll see the following error message on the Error List window.
![]()
Double click the message to start the license acceptance process. Click Accept for each of the licenses present and the automatic installation will begin.
Set up Android emulator
If you don't have an Android device to deploy to, you can follow these steps to set up an Android emulator. If you've already done this or want to use your own Android device, you can skip this step.
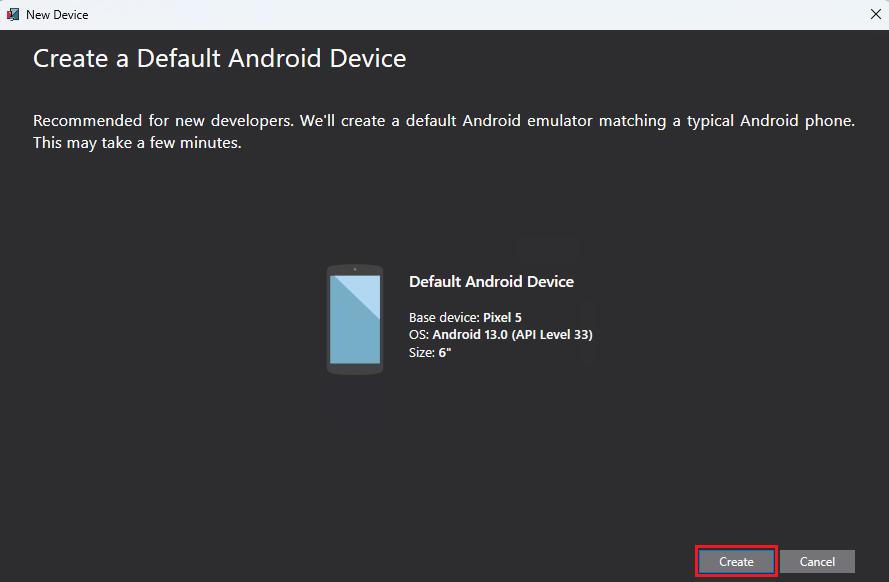
If this is your first time building a .NET MAUI application, you'll see Android Emulator selected in the debug target drop-down menu. Click it to start the creation process. If a license acceptence dialog shows up, select Accept.

This brings up the New Device window. Select the Create button to create an emulator with default settings. This will download the emulator images and finalize the creation of the emulator for use in Visual Studio. This step might take a while.
Don't worry if the API Level you see is different from the images. It may be 36 or higher.
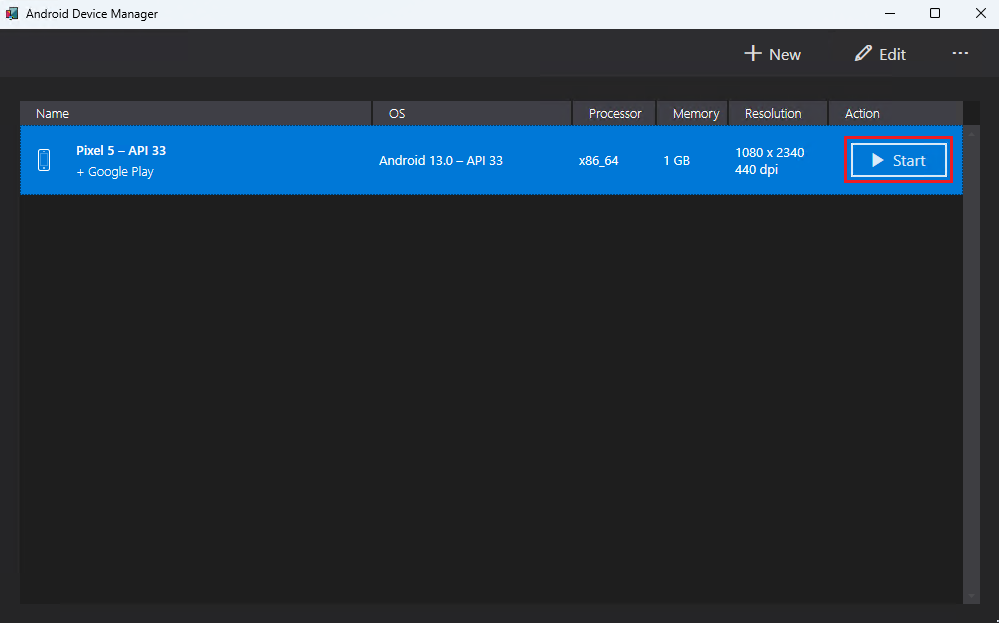
Once the emulator has been created, you'll see a button that says Start. Click it.
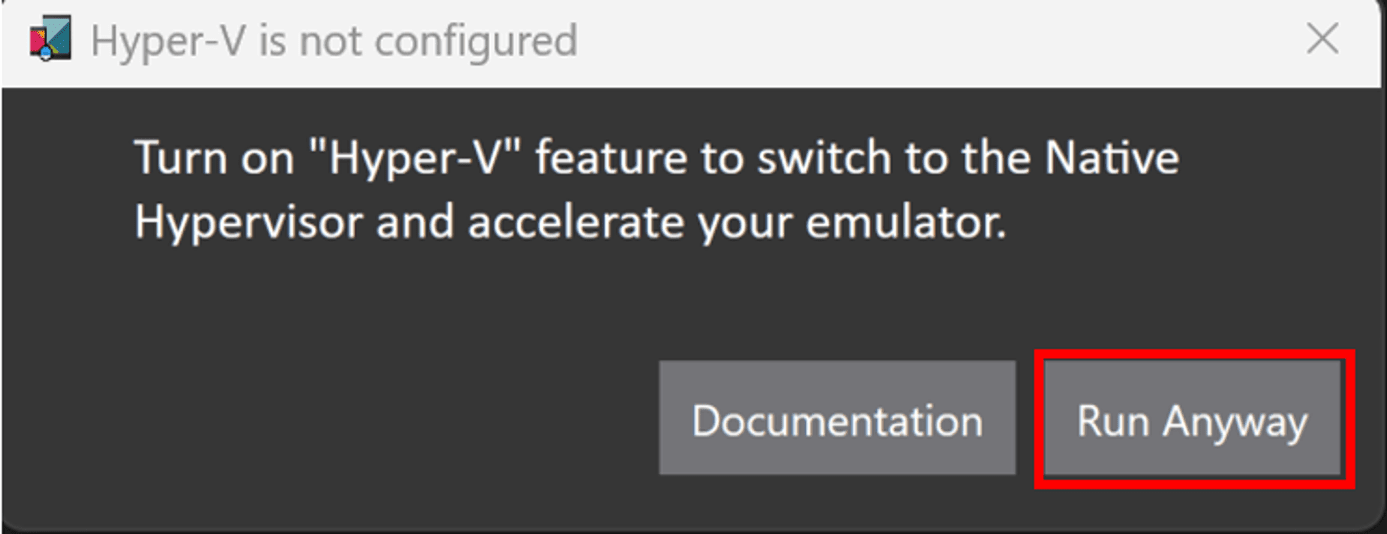
You may receive prompt to enable Windows Hypervisor Platform. Follow the documentation to enable acceleration to improve performance (required to get the emulator up and running). Select Run Anyway.
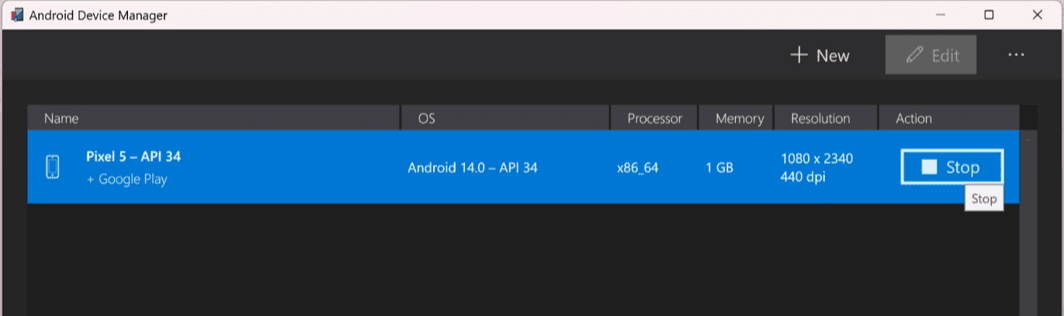
The Android emulator will launch and will be fully finished when you see the ability to Stop in the Android Device Manager. This may take some time.
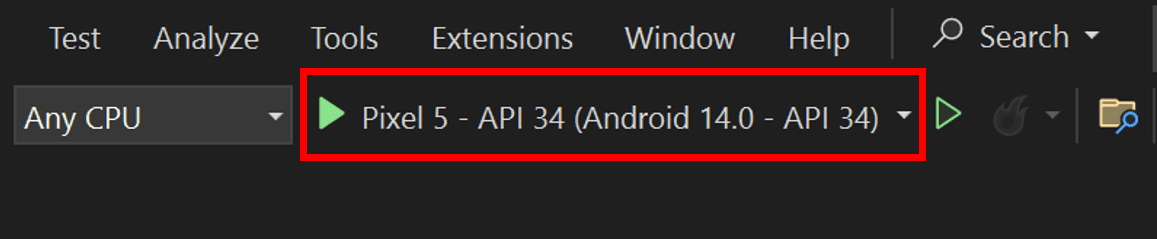
Once it's fully finished, you'll see it displayed in the Visual Studio debug menu.
Your Android emulator has now been created and is ready to use. Next time you run Visual Studio, the emulator will appear directly in the debug target window and will start when you select it. If you ran into any issues or have performance issues with the emulator, read through the full setup documentation.
Set up Android device
To develop with your Android device, USB debugging needs to be enabled. Follow these steps on the device to connect it to Visual Studio. If you don't have an Android device, you can skip this section.
Enable developer mode
- Go to the Settings screen.
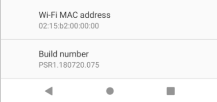
- Find Build number by using search at the top of the settings screen, or locate it in About phone.
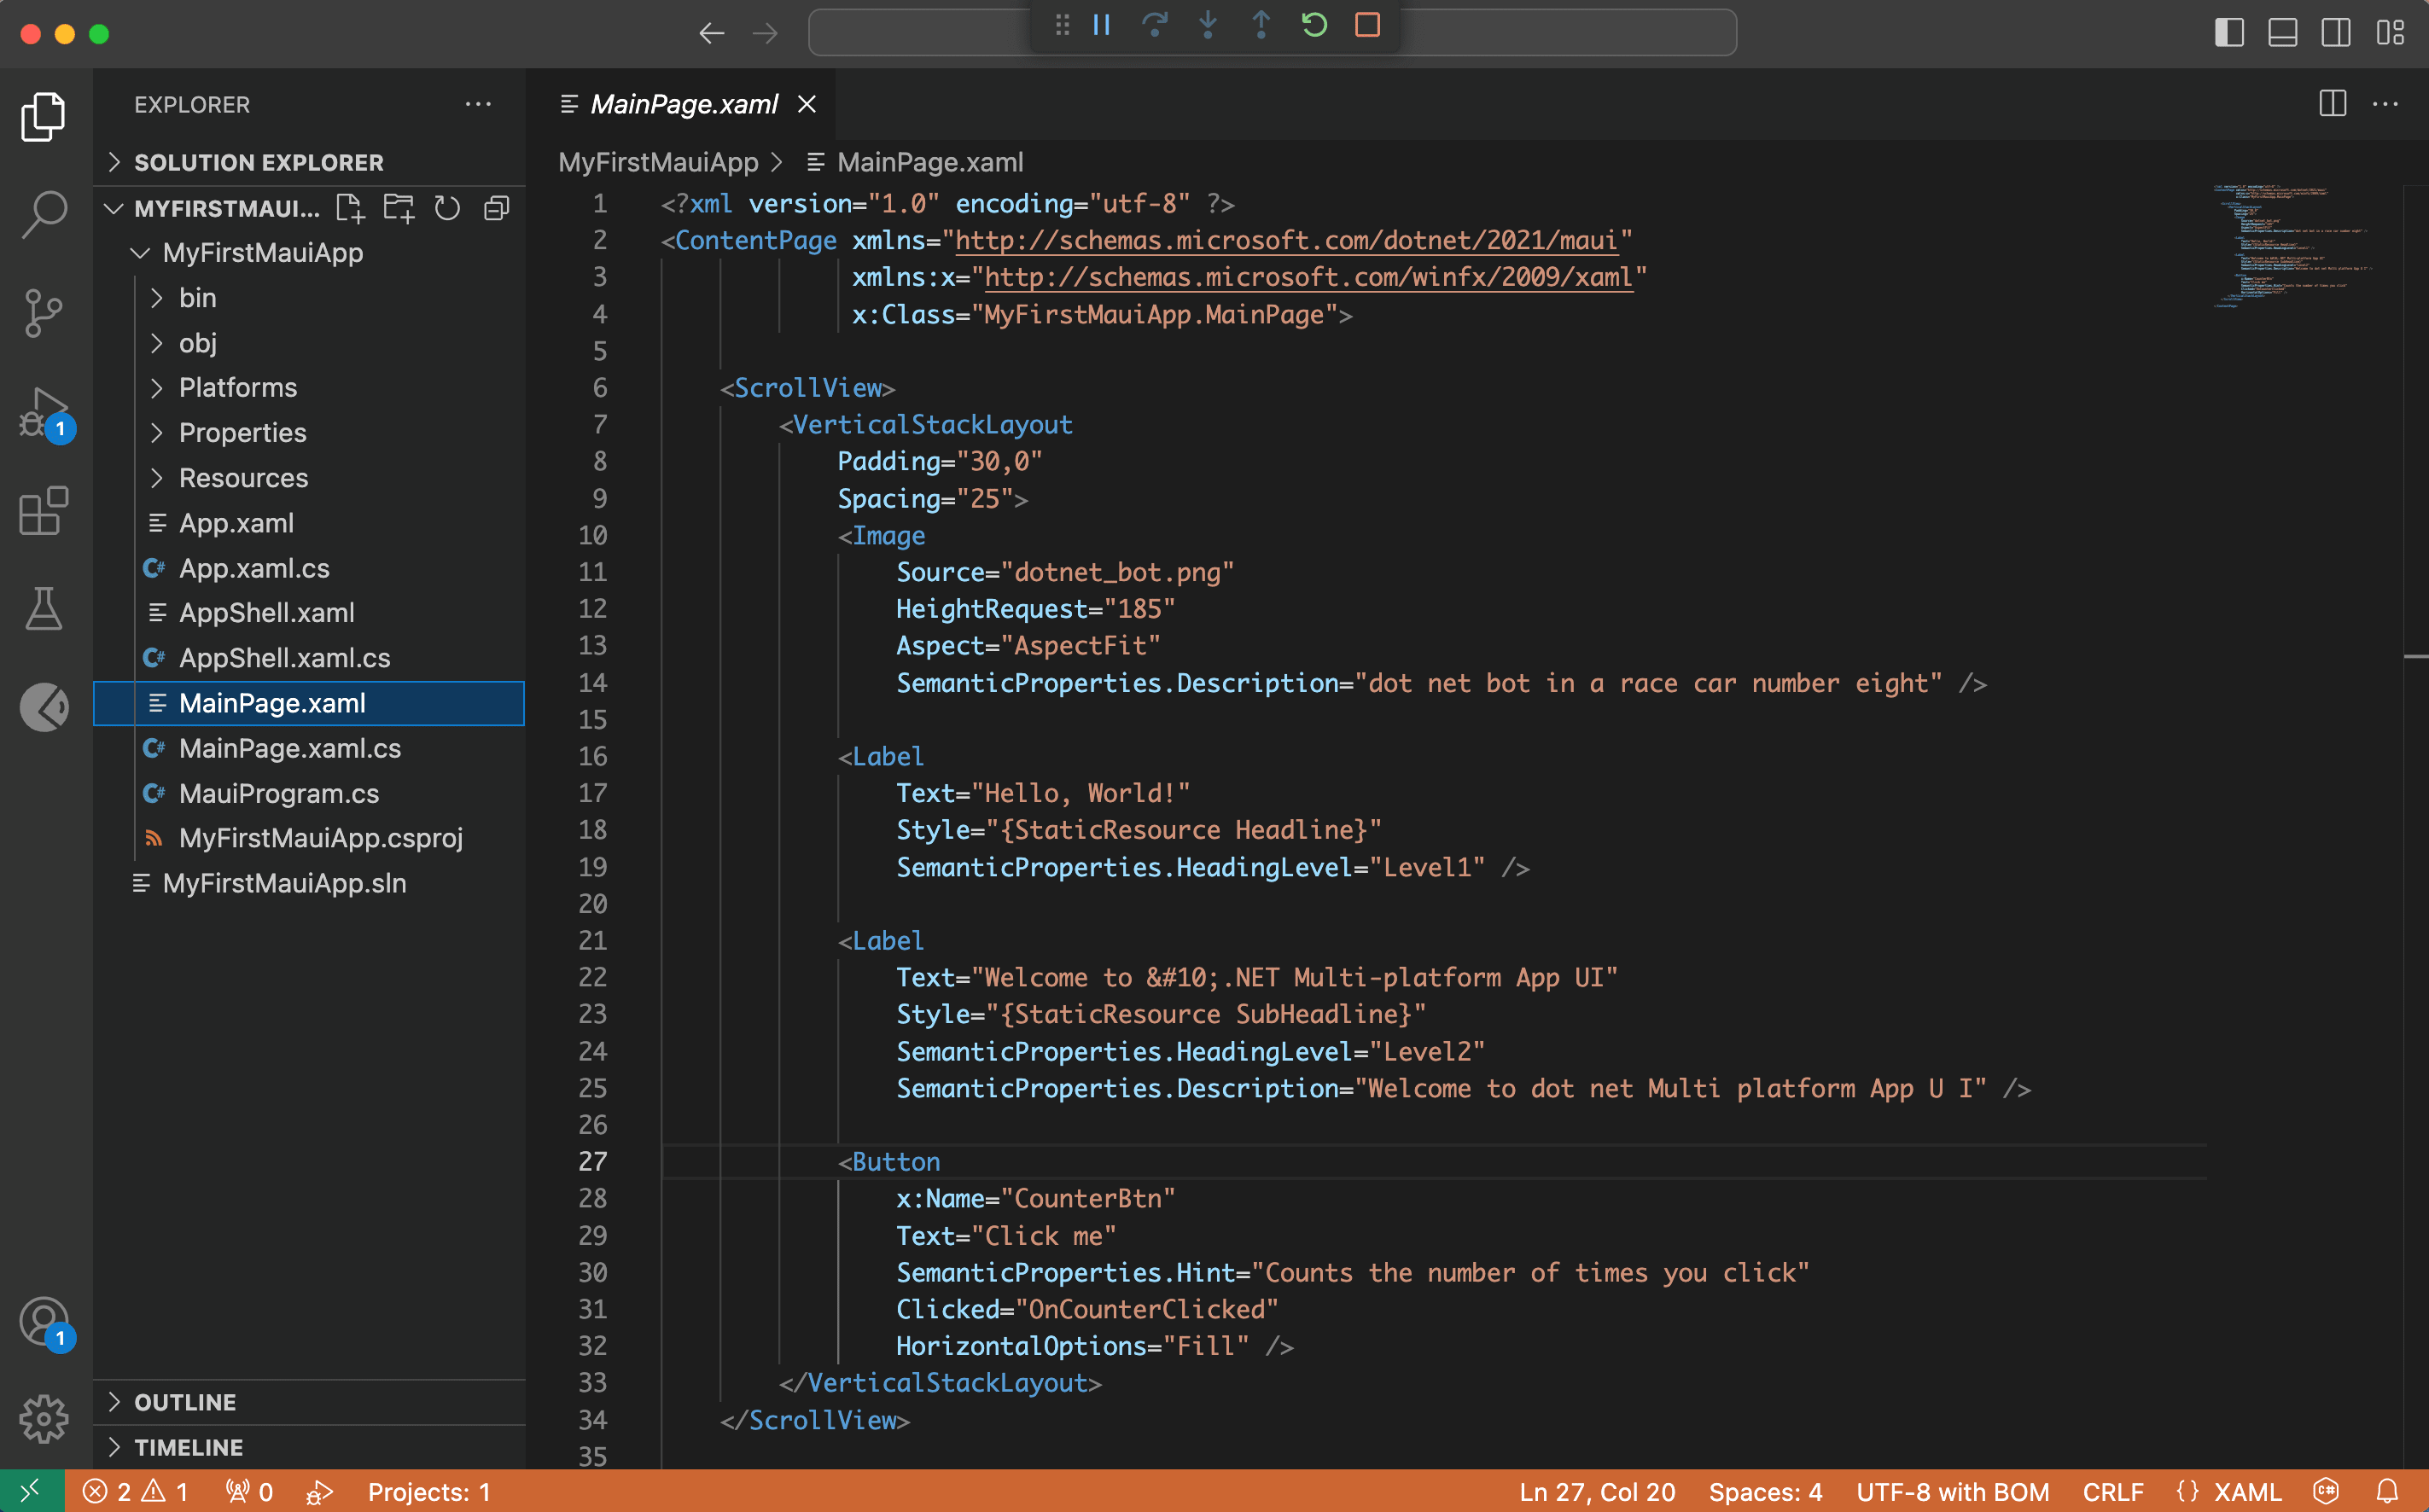
- Tap Build number 7-10 times until "You are now a developer!" pops up.
Check USB debugging status
- Go to the Settings screen.
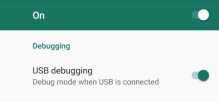
- Find USB debugging by using search at the top of the settings screen, or locate it in Developer options.
- Enable USB debugging if it isn't enabled already.
Trust device
- Plug your device into your computer.
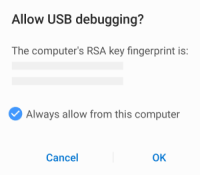
- You'll be prompted to Allow USB debugging.
- Check Always allow from this computer.
- Click Allow.
Your device is now configured and will show up in Visual Studio as a deployment target.
Having issues? Check the documentation.
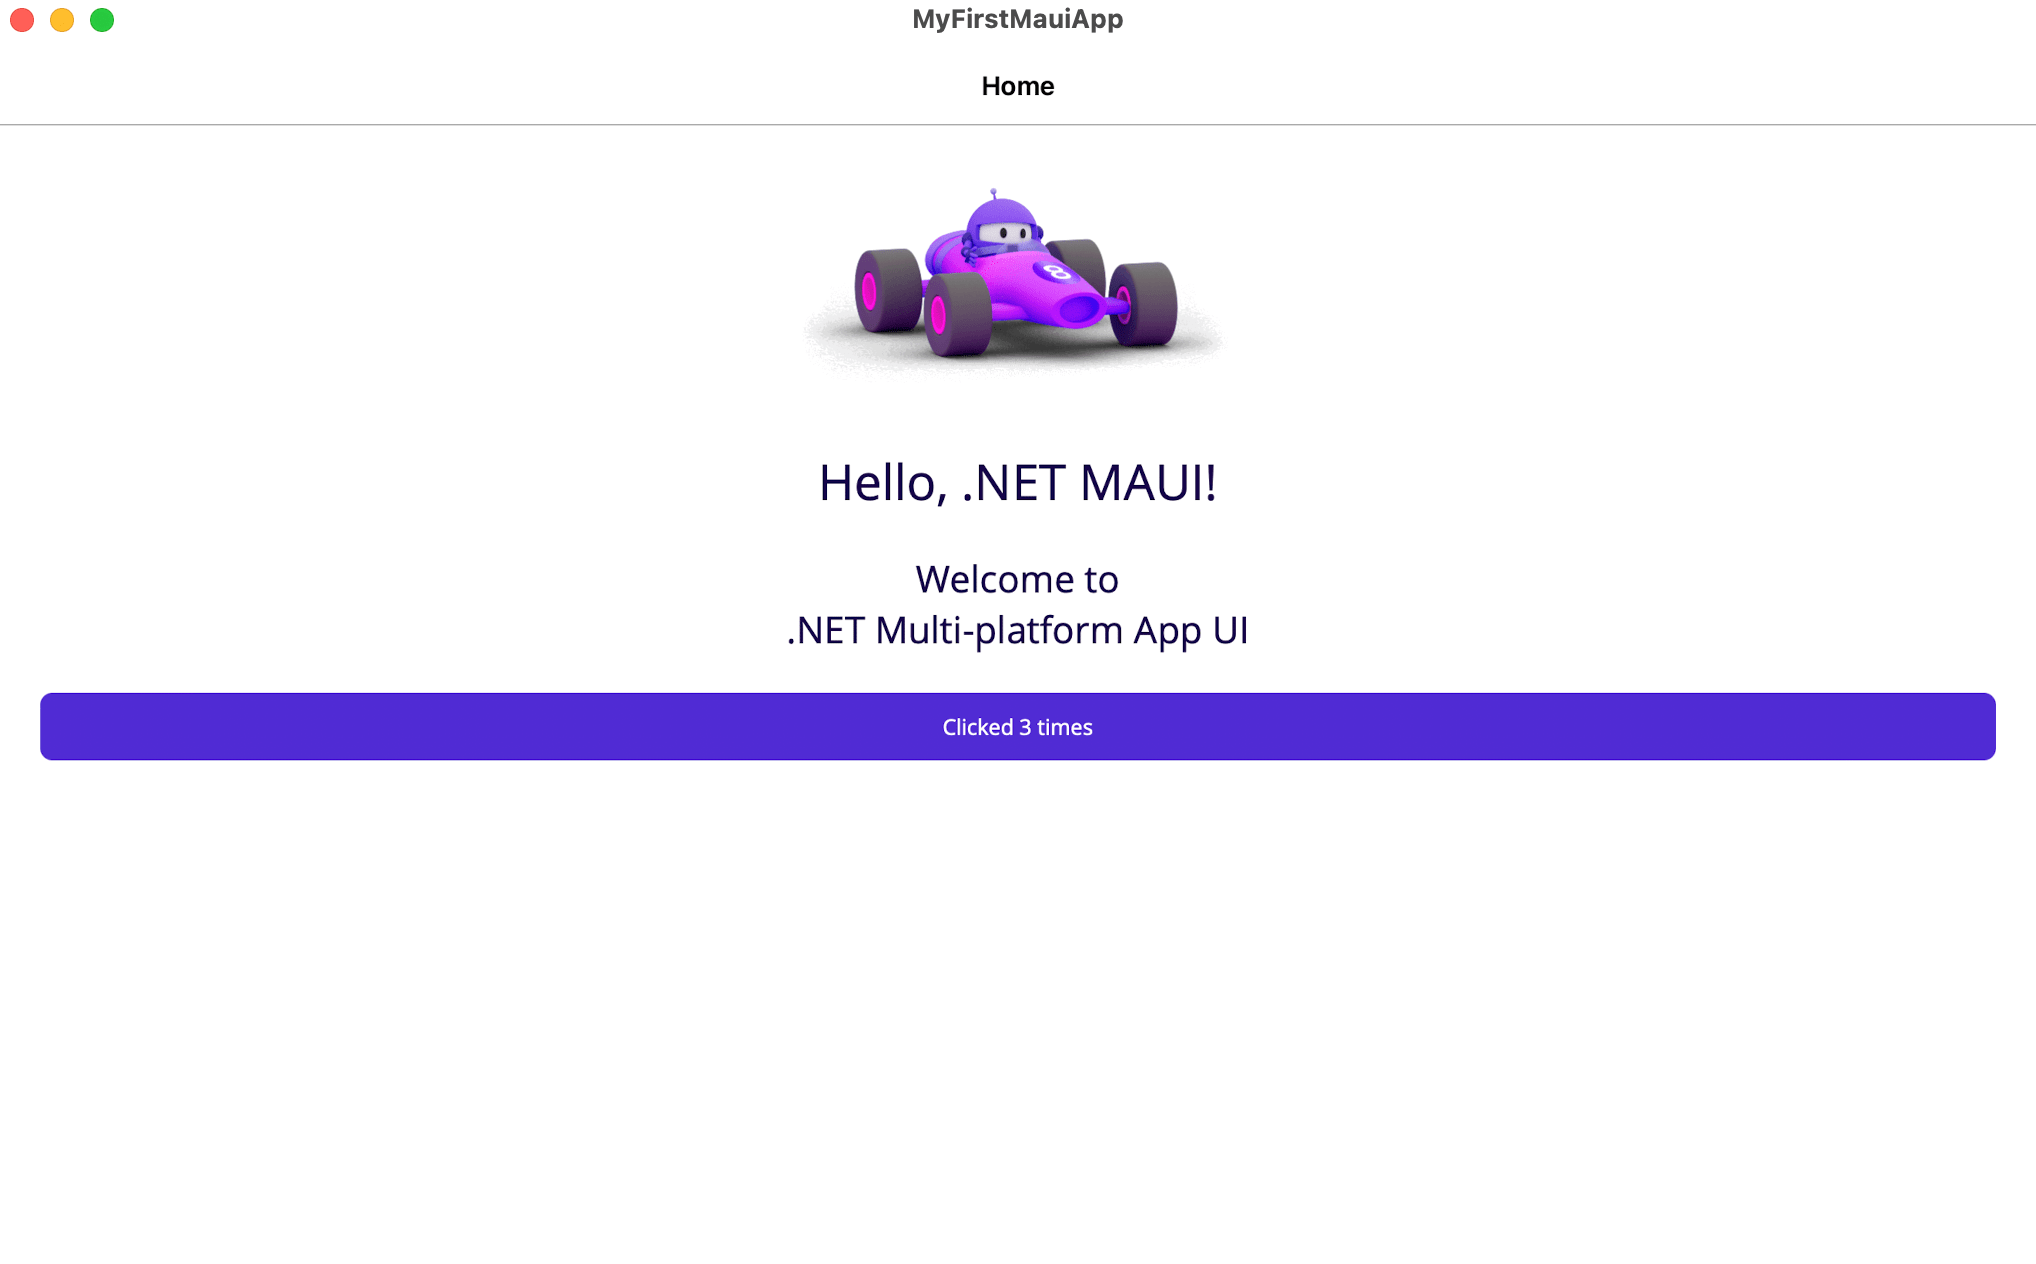
Your emulator or device should now be configured for deployment!
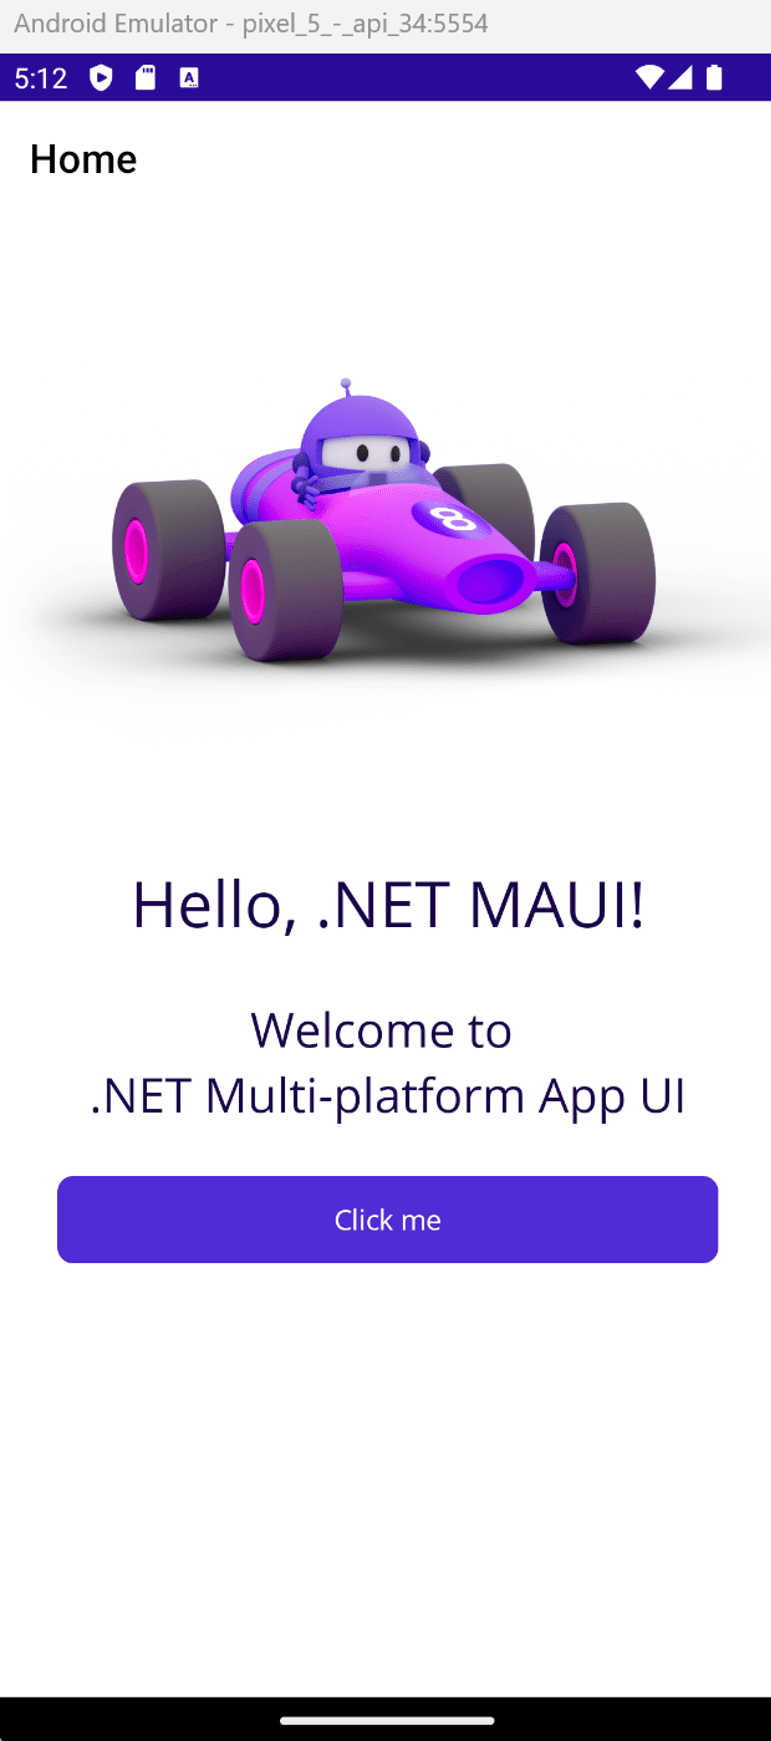
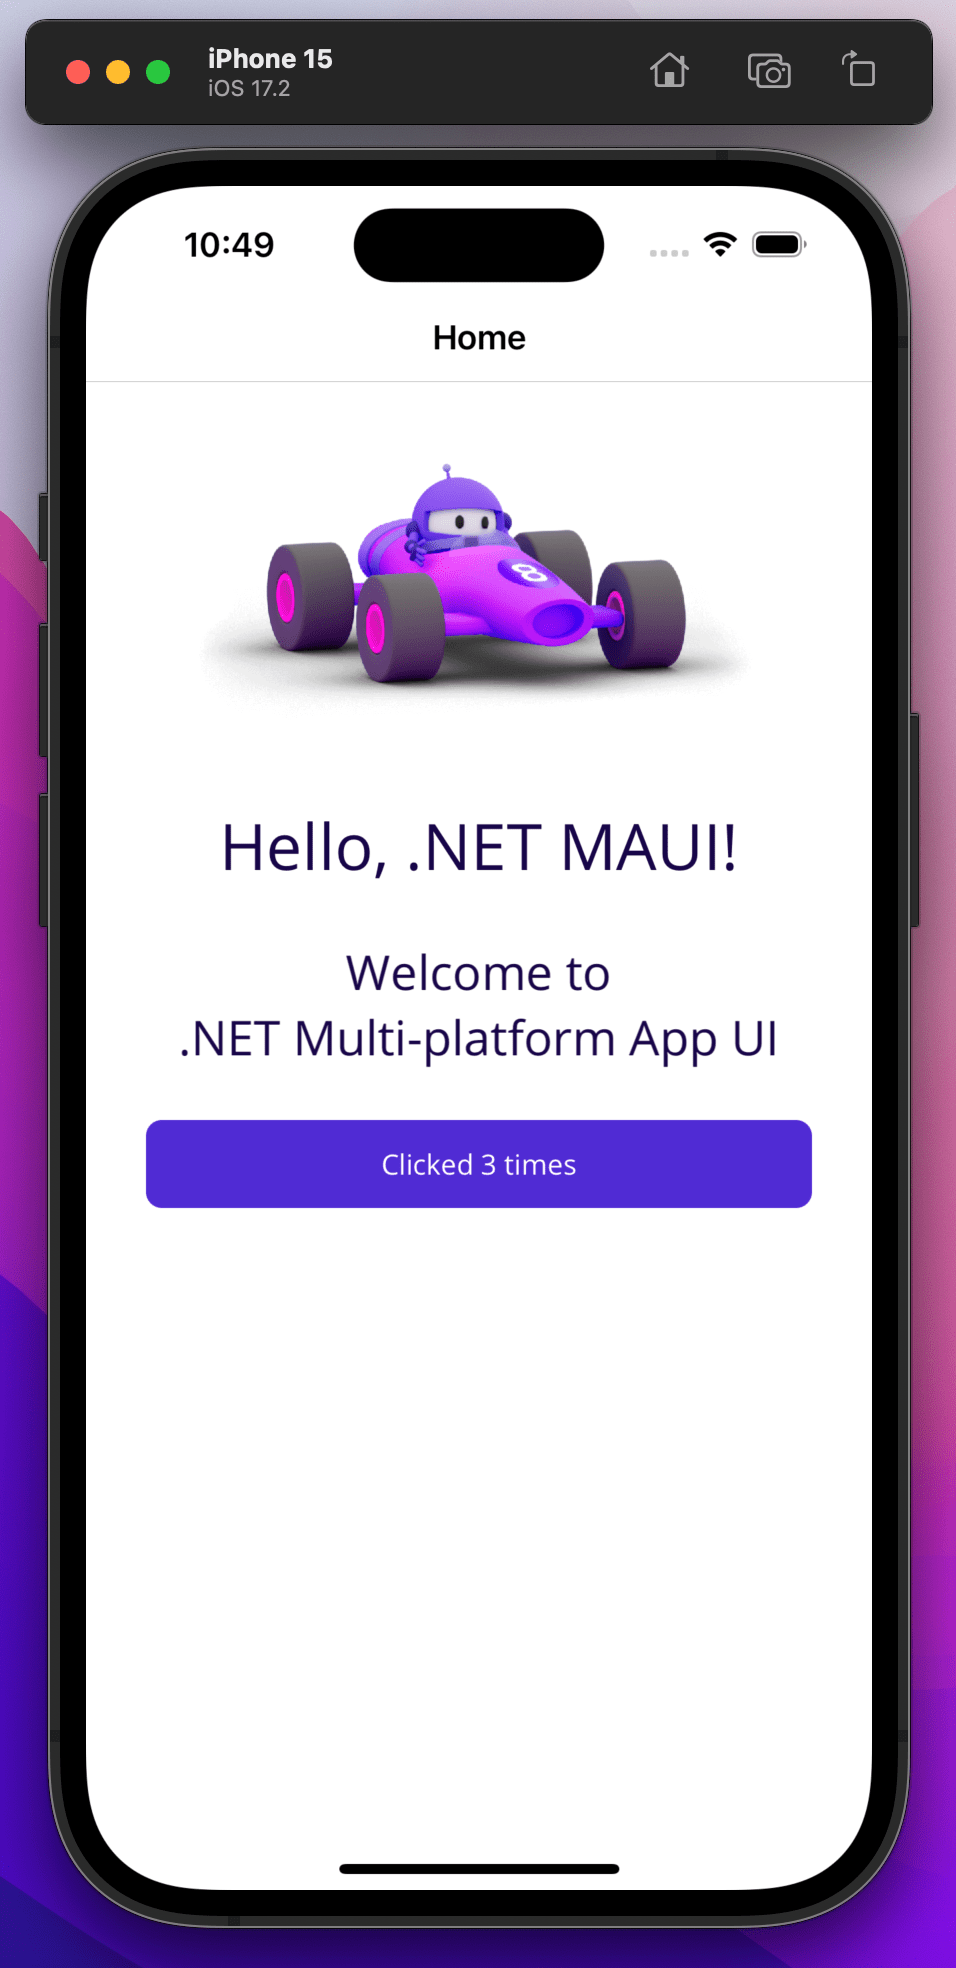
Run on Android
Make sure your device or emulator is selected as a debug target.
From the menu, select Debug > Start Debugging (or press F5). If this option is disabled, ensure an emulator or device is selected.
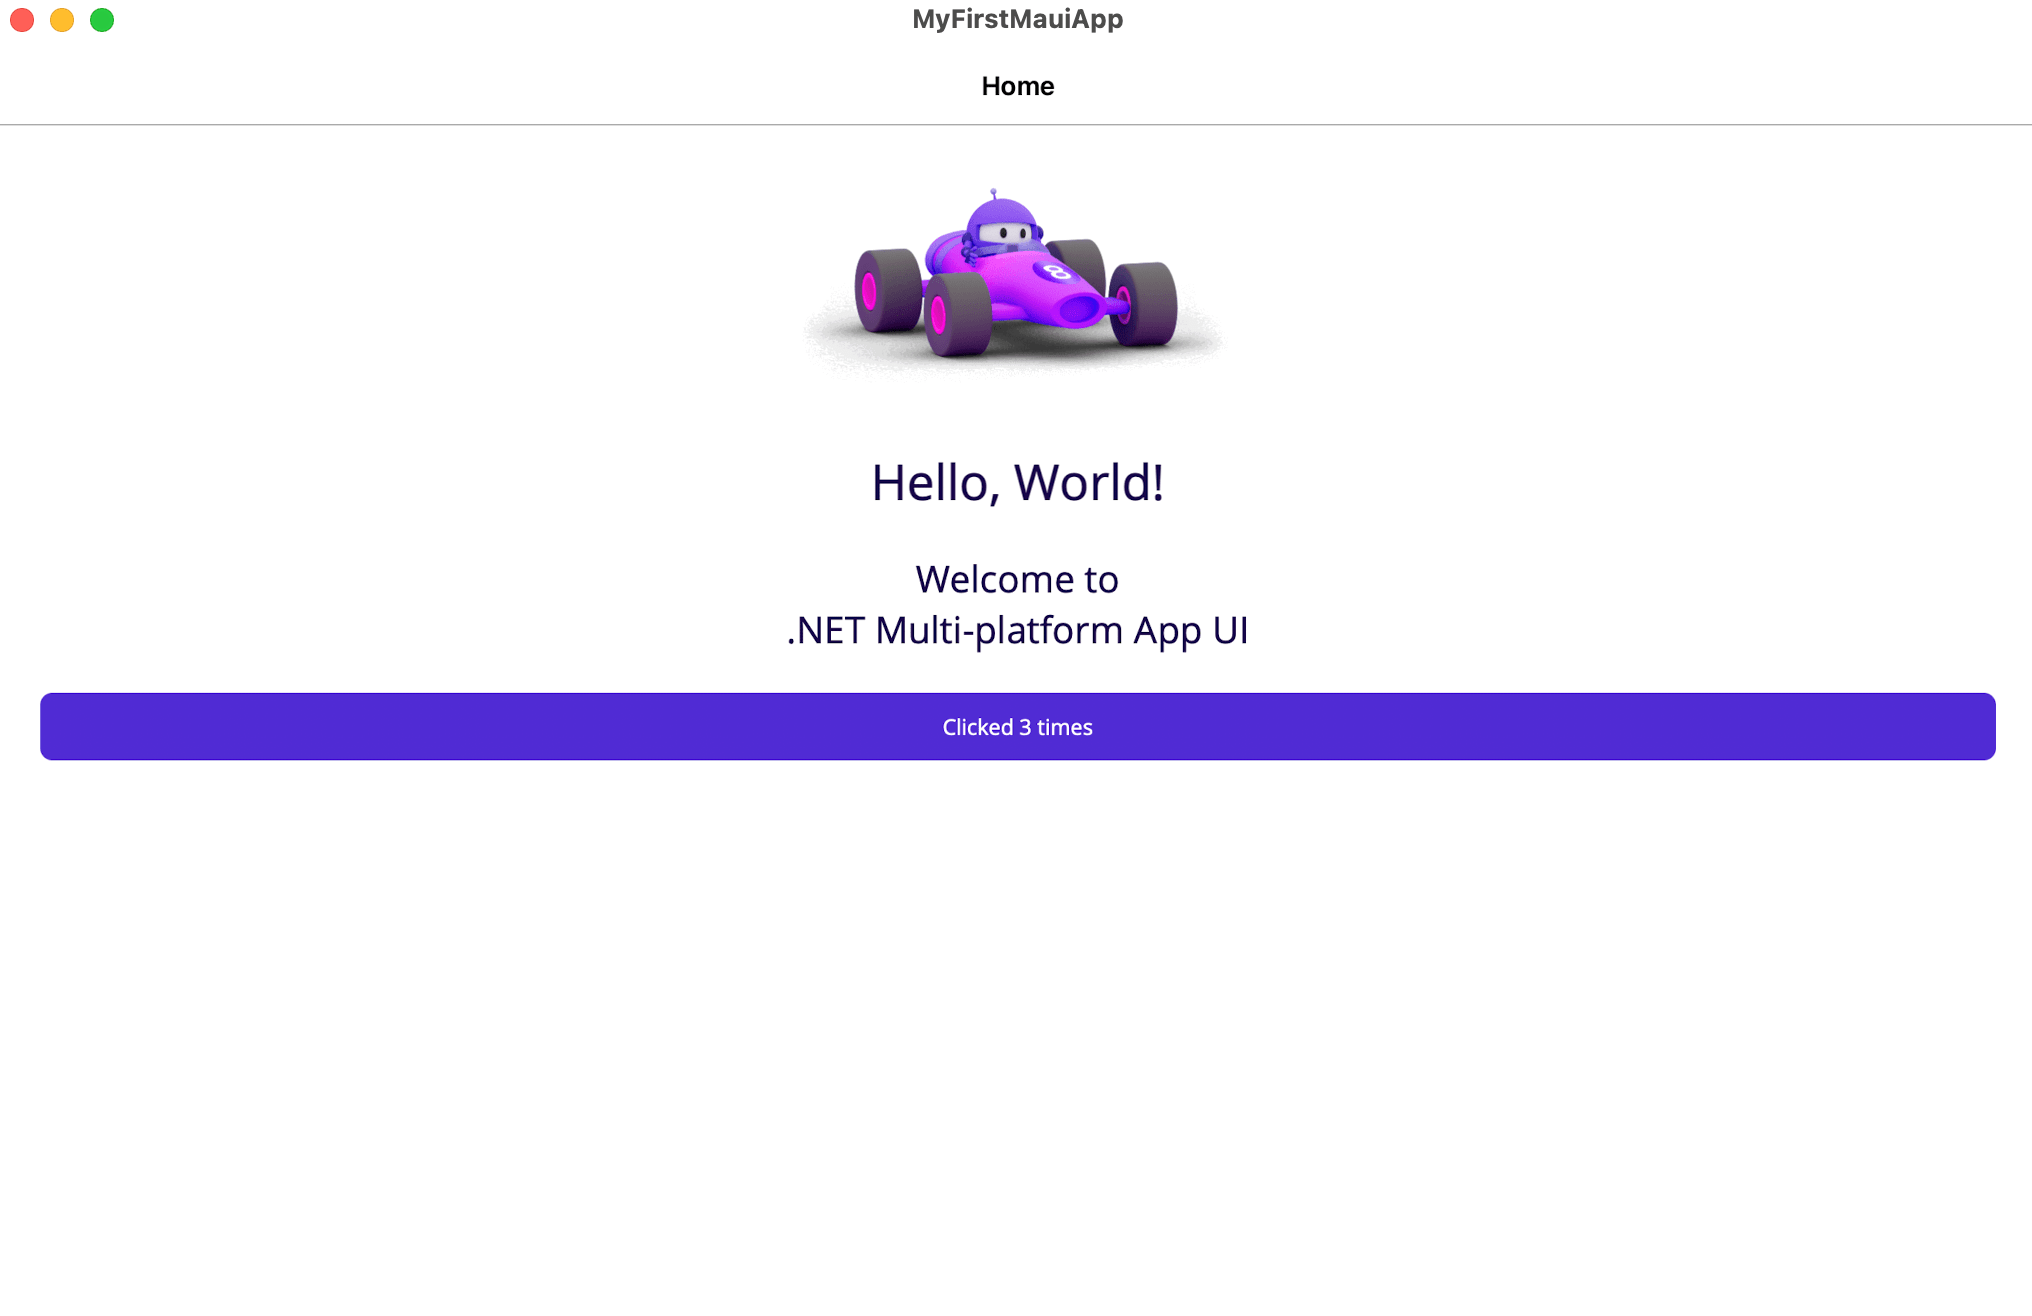
Your application will build, deploy to the Android device/emulator selected, and run.